Watch the complete setup process from download to first message
Step 1: Grant Permissions
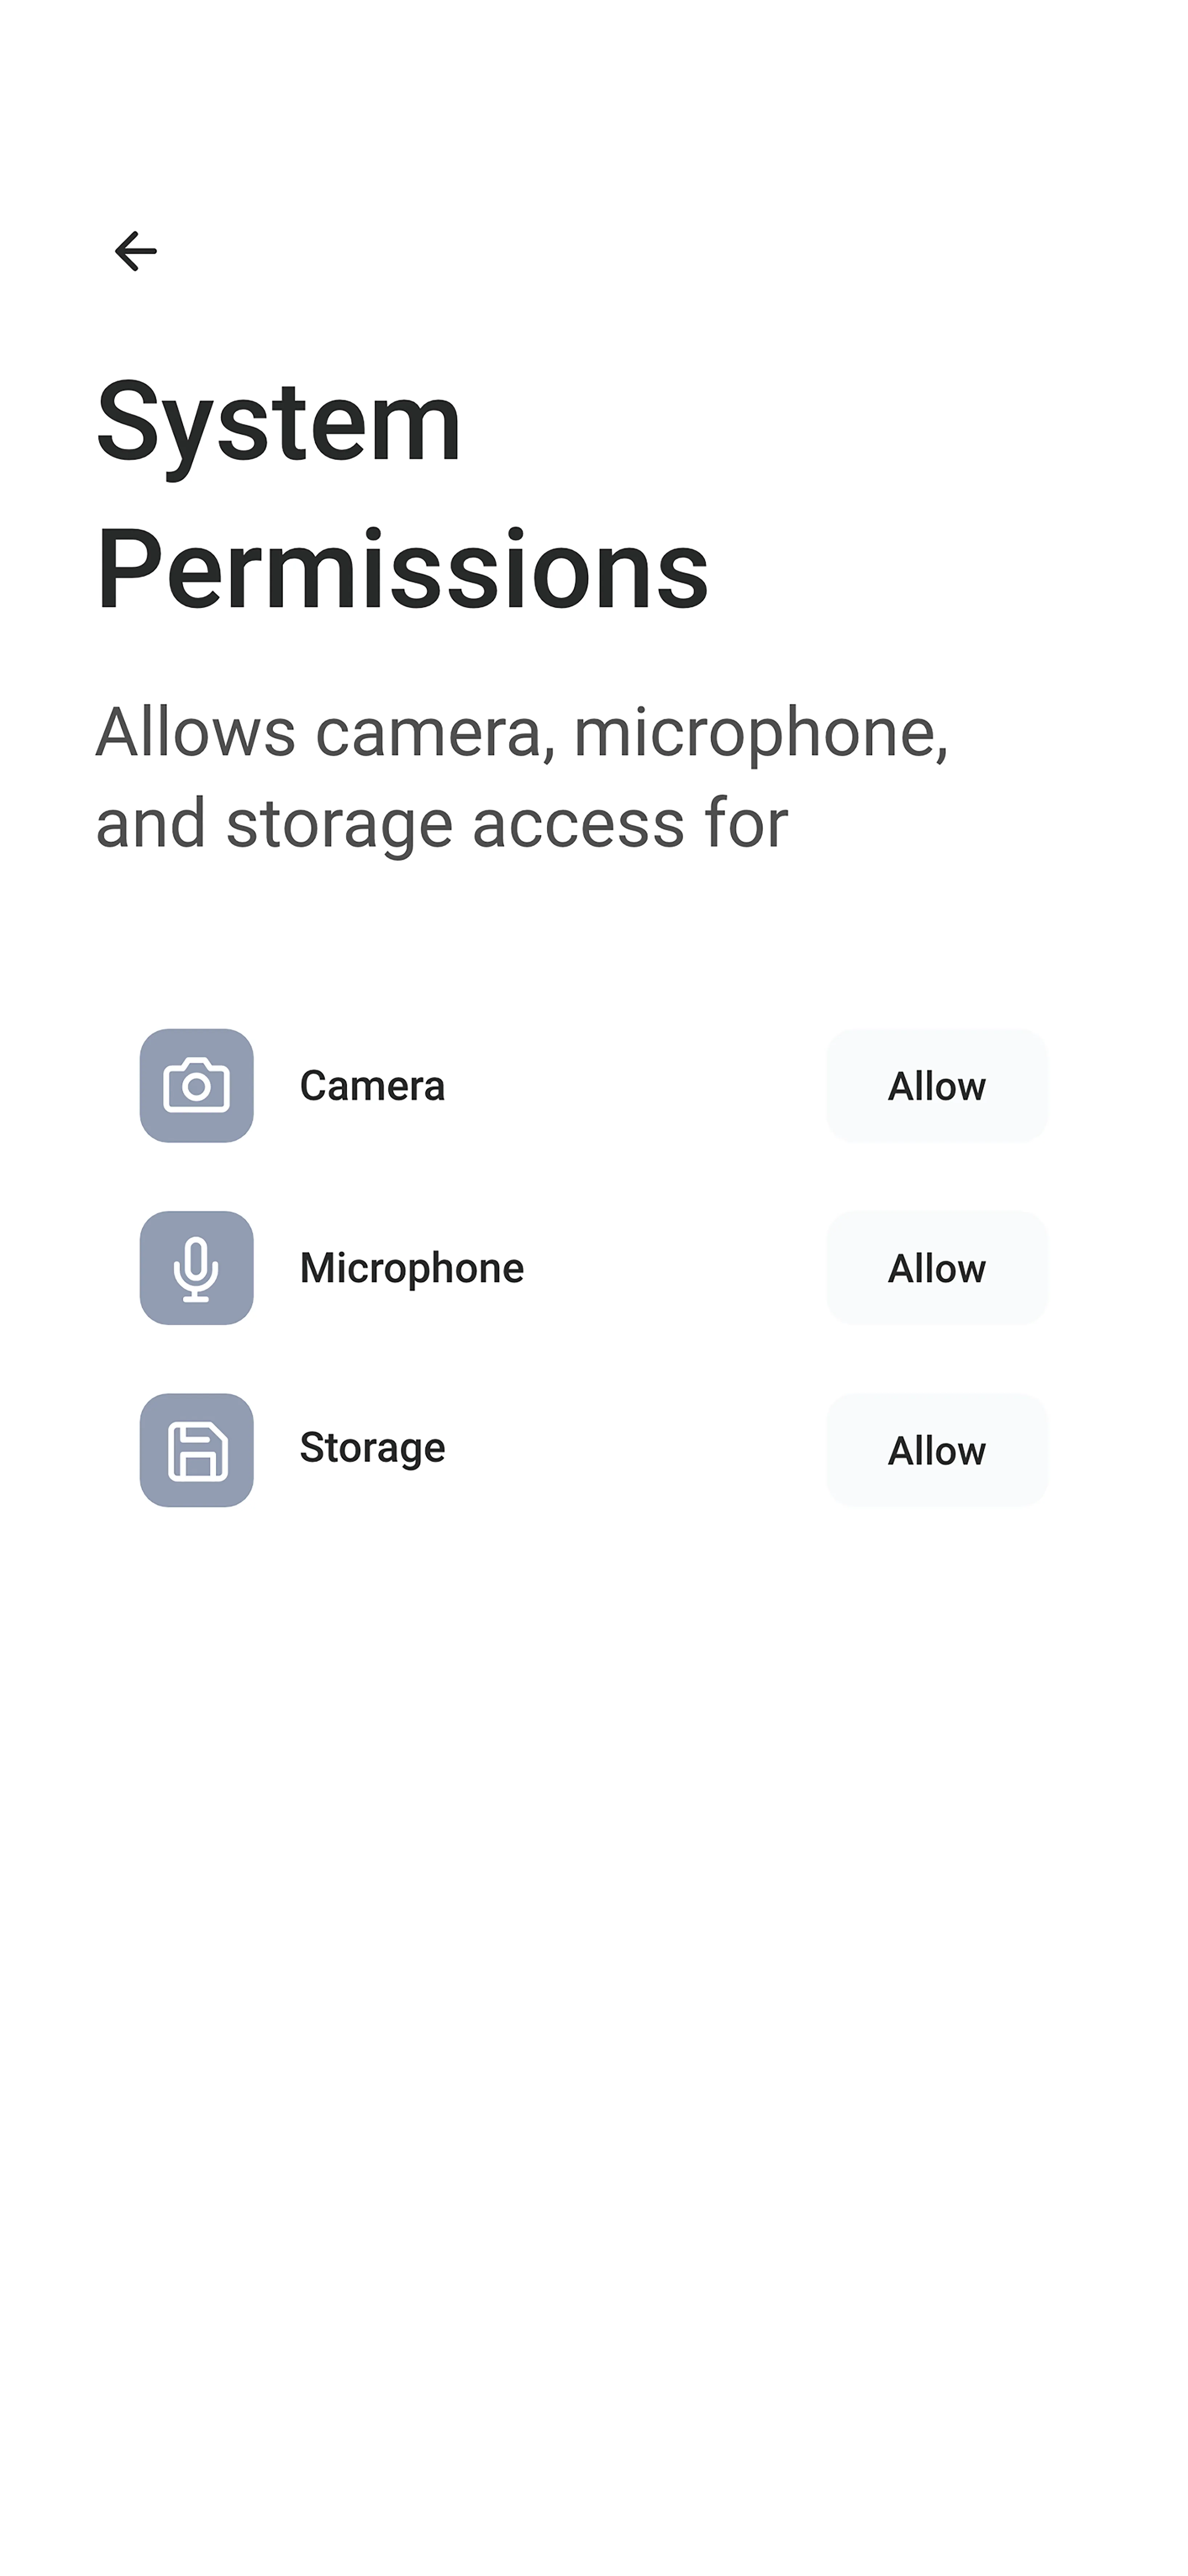
When you first open Tr3sPass, the app will request access to essential device features. Grant these permissions for full functionality:
Camera
Required for video calls and sharing photos directly from your camera.
Microphone
Required for voice calls and sending voice messages.
Storage
Required for saving and sharing media files, documents, and other content.
Note: You can adjust these permissions later in your device settings, but some features may not work without them.
Step 2: Choose Your Security Zone
Tr3sPass offers three distinct security zones. You can create accounts in one, two, or all three zones and switch between them instantly based on who you're talking to and what you're sharing.
Anonymous Zone
Best for: Maximum privacy, casual conversations, exploring the app
What's required:
- Username (your choice)
- Password
What you get:
- Complete privacy with end-to-end encryption
- No personal information required
- Full messaging and calling features
- Cannot be validated by others (by design)
Use cases:
- Conversations where you want to remain private
- Exploring the app before committing to verification
- Communicating in communities where anonymity matters
Verified Zone
Best for: Trusted connections with moderate security
What's required:
- Username and password
- Two-factor authentication (2FA) via email or phone
What you get:
- Confirmed identity status visible to contacts
- Ability to add and protect digital assets
- Higher ZTRS score potential
- Can send and receive validation requests
Use cases:
- Professional networking
- Communicating with verified contacts
- Business conversations requiring some identity assurance
Secure Zone
Best for: Maximum trust and verification
What's required:
- Username and password
- Government ID verification
- Face recognition match
- Phone number validation
- Email confirmation
What you get:
- Highest level of identity verification
- Maximum ZTRS score potential
- Access to TripleValidate integration
- Strongest trust signals to your contacts
Use cases:
- Sensitive business communications
- Financial discussions
- Any conversation requiring absolute identity confidence
- Professional relationships where trust is essential
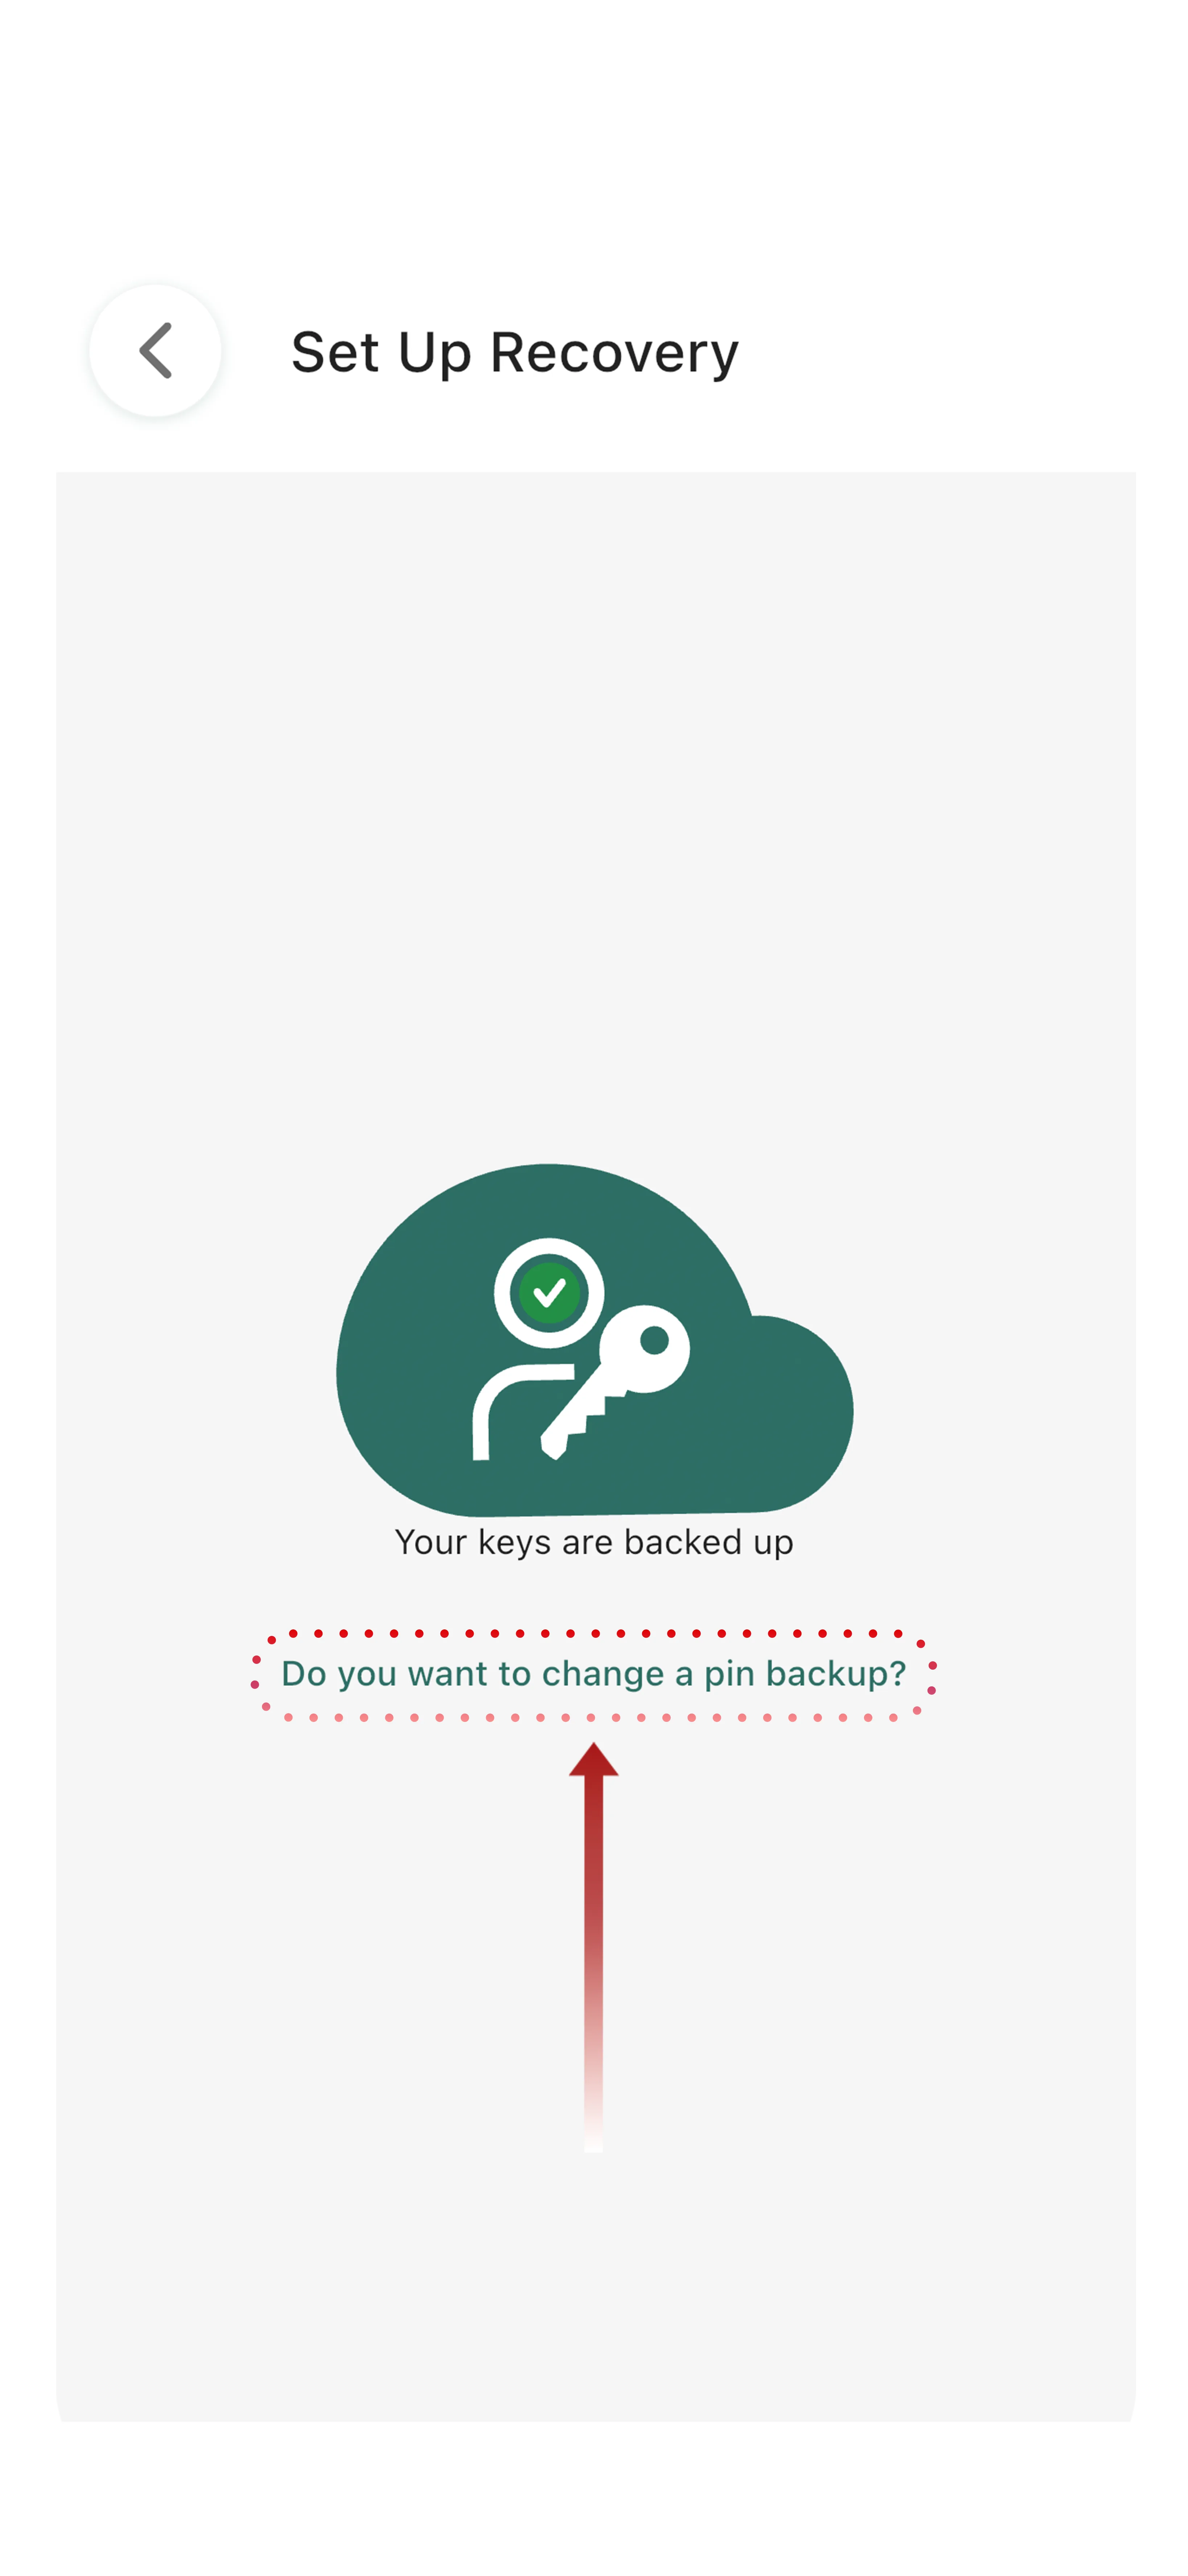
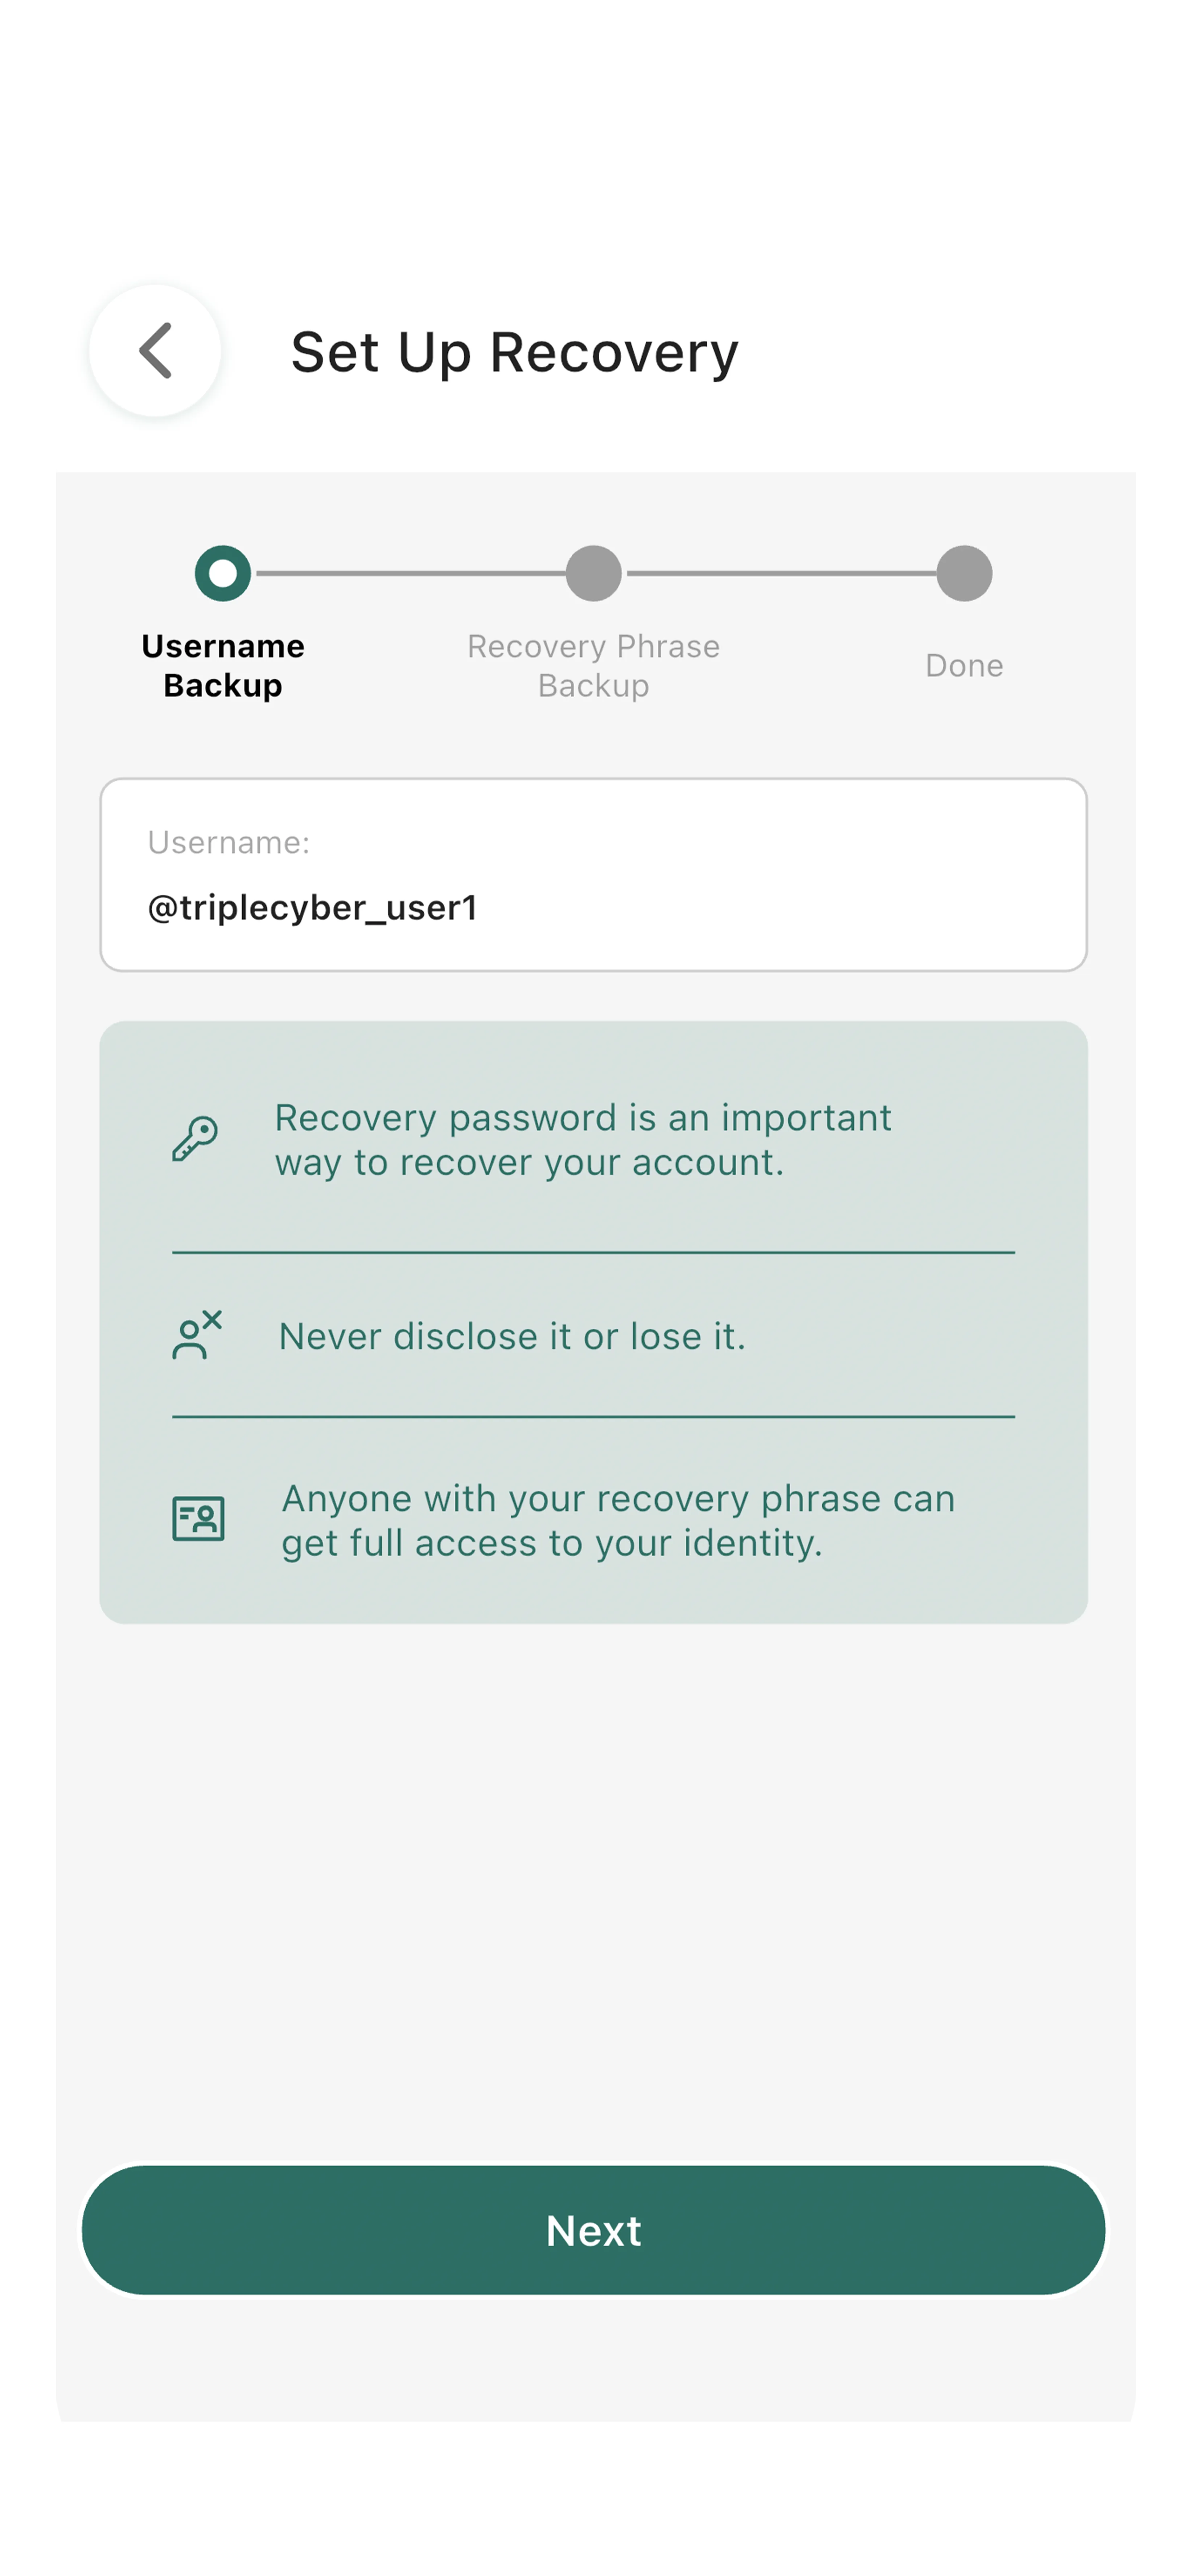
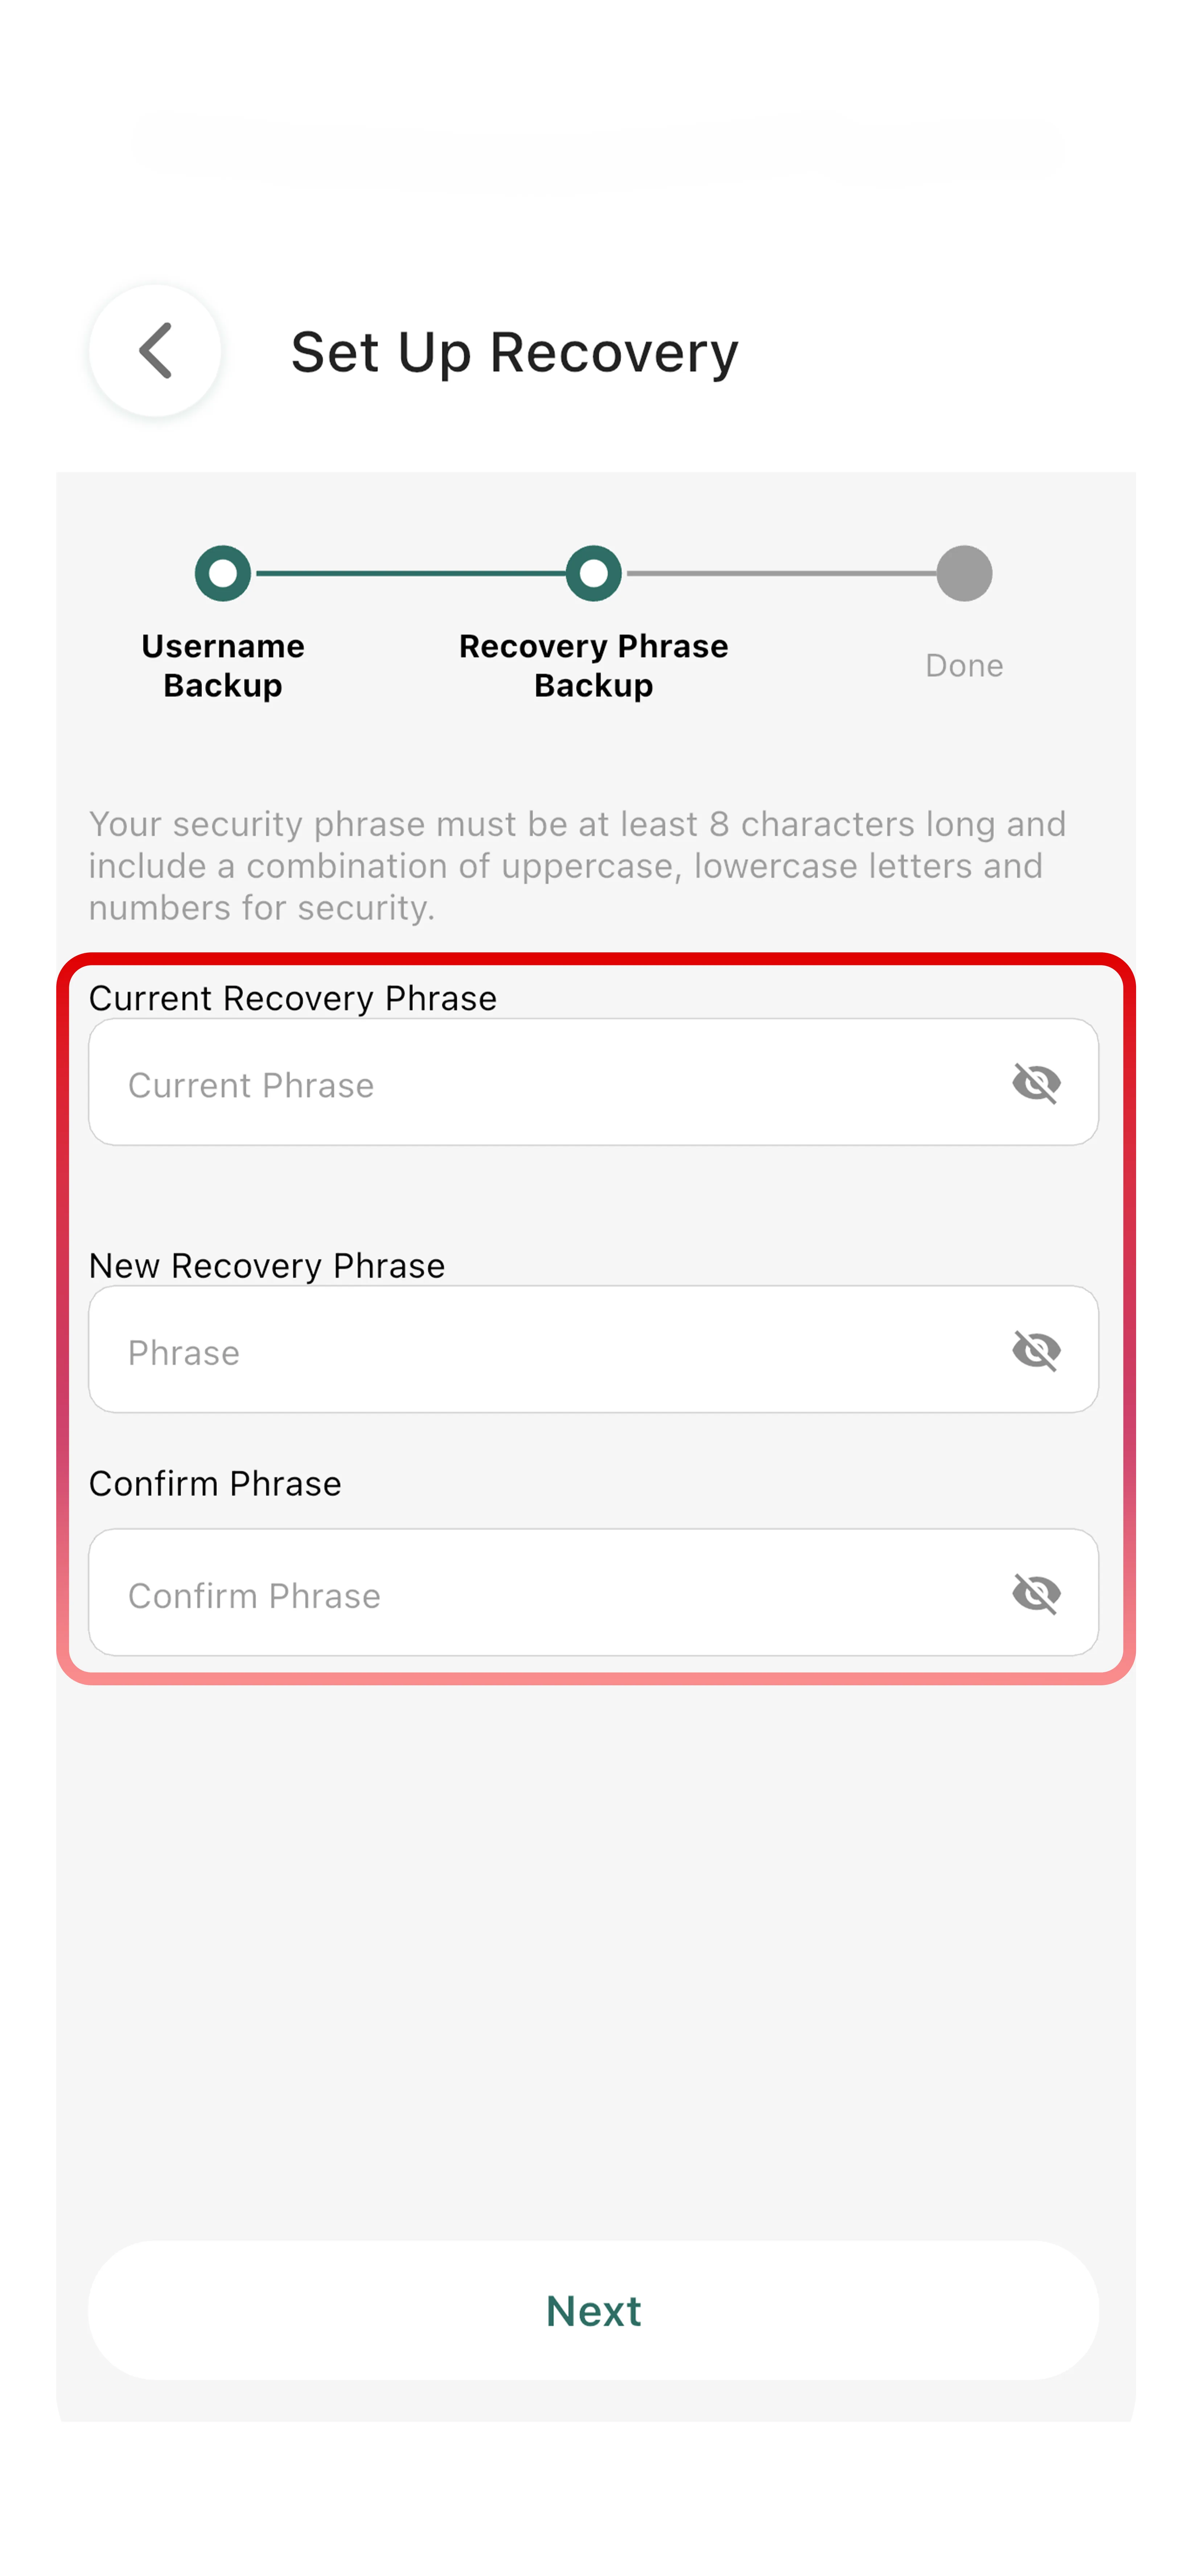
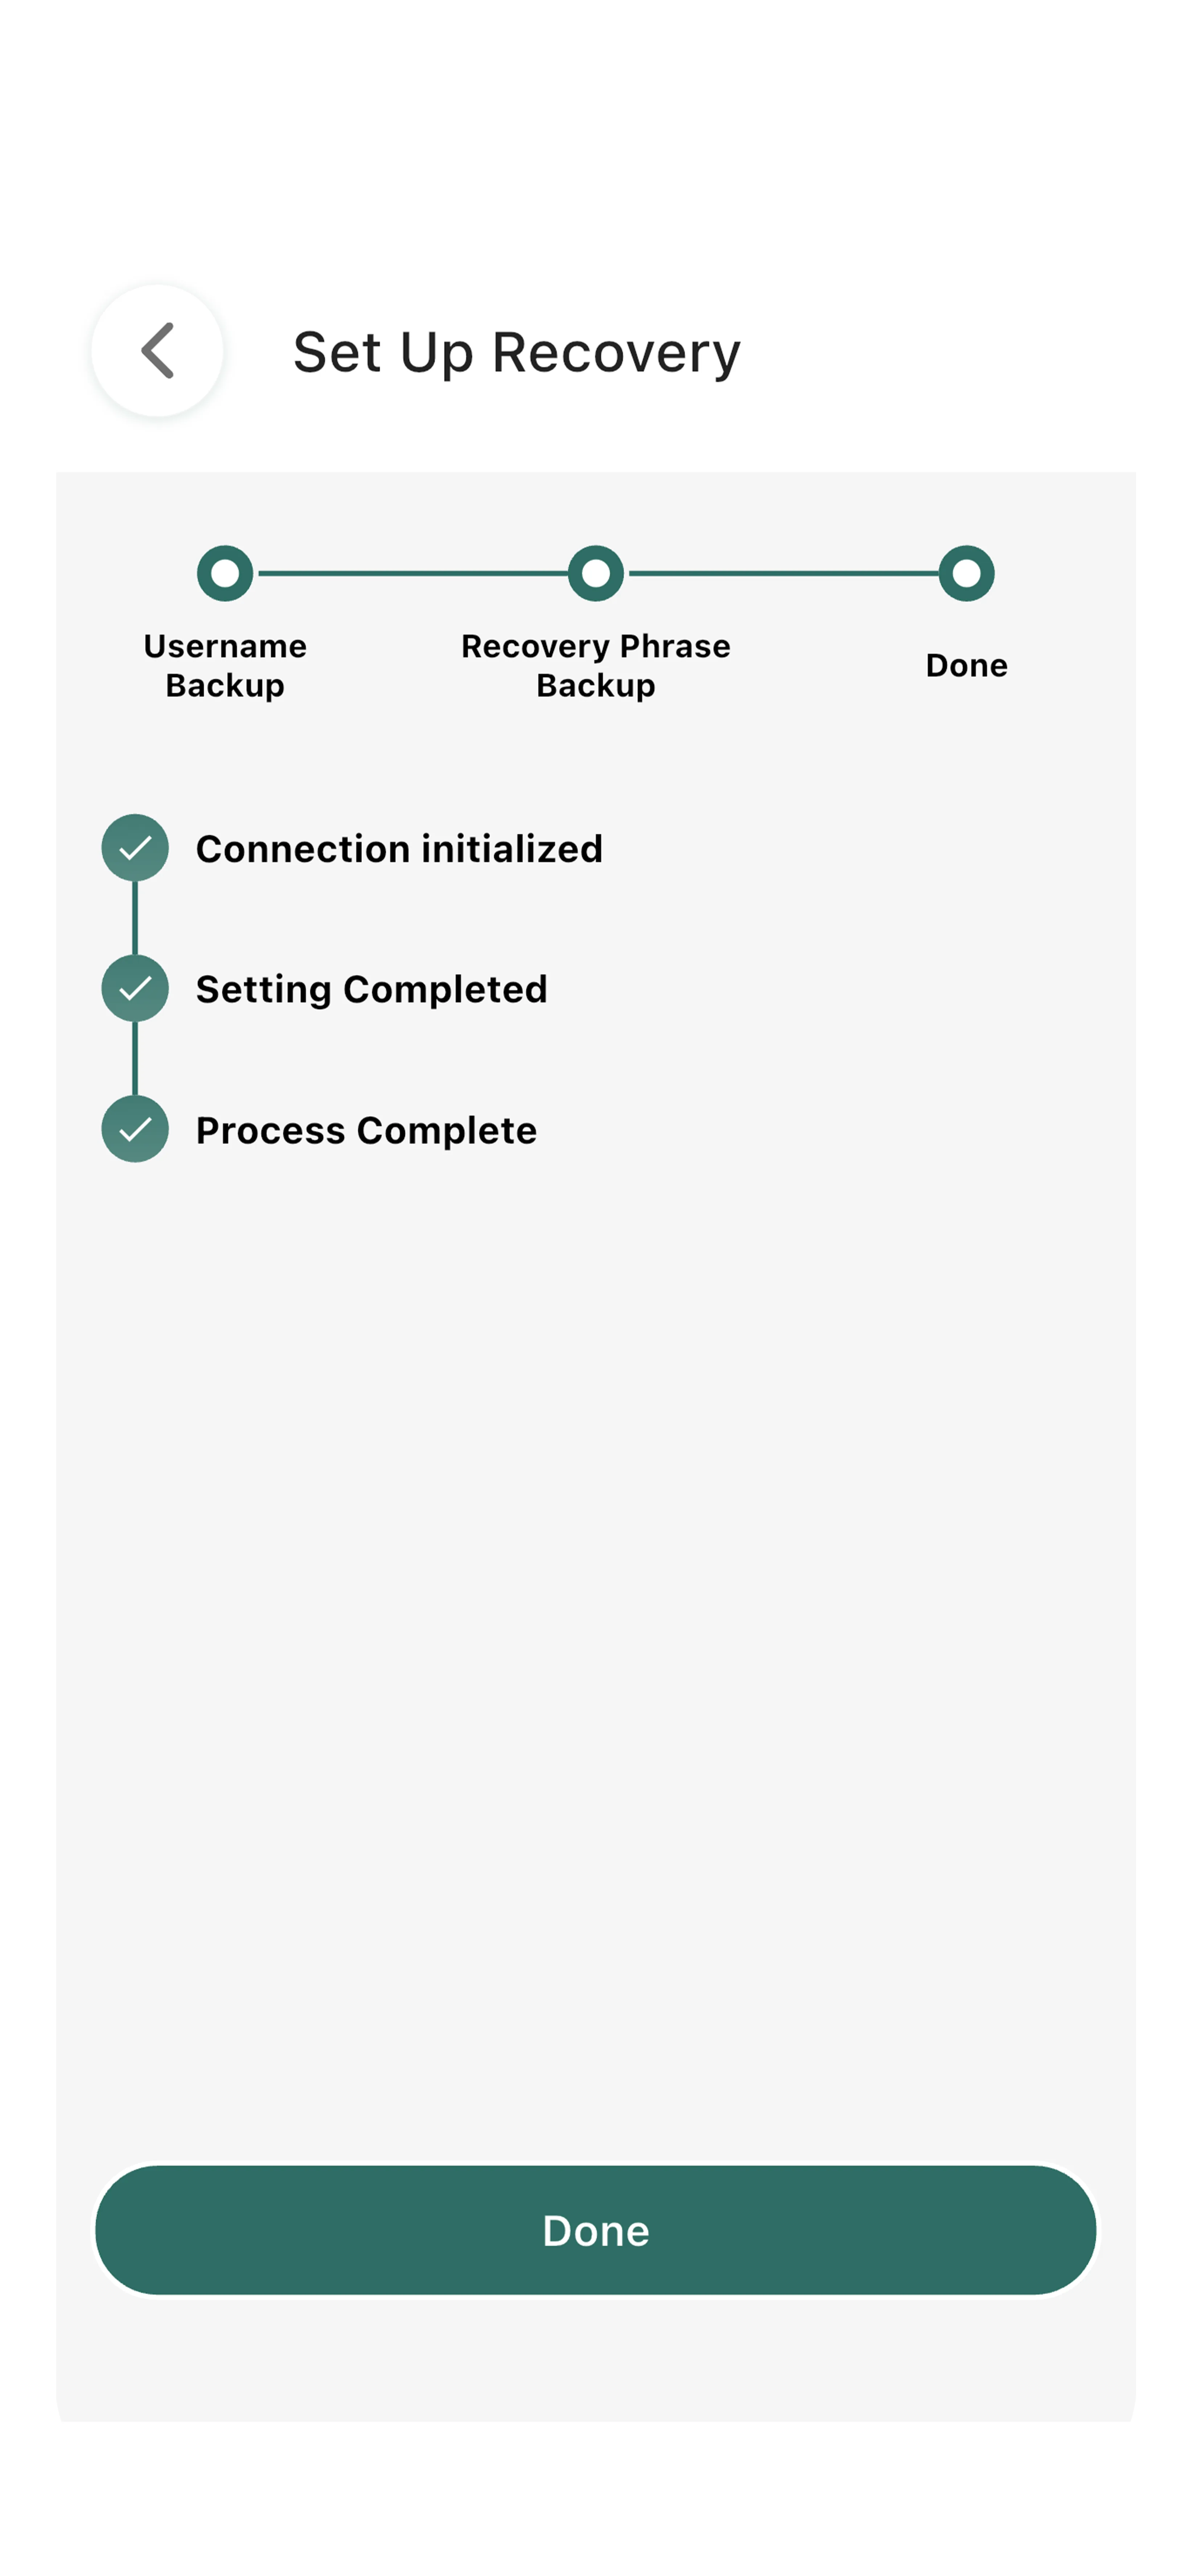
Step 3: Create Your Backup Recovery Phrase
This step is critical. During account setup, you will create a backup recovery phrase for account recovery.
You will be guided through the Set Up Recovery screens:
First, confirm your username for recovery:
Set your recovery phrase:
Once complete, your backup recovery phrase is ready:
Important:
- Store your backup recovery phrase securely (password manager, written in a safe place)
- There are NO security questions to recover your account
- If you lose your backup recovery phrase and password, your account cannot be recovered
- This design ensures your privacy remains absolutely protected
Why no account recovery questions?
Traditional recovery methods (security questions, email resets) create vulnerabilities. By eliminating these, Tr3sPass ensures that only you can ever access your account, but this means you must safeguard your backup recovery phrase carefully.
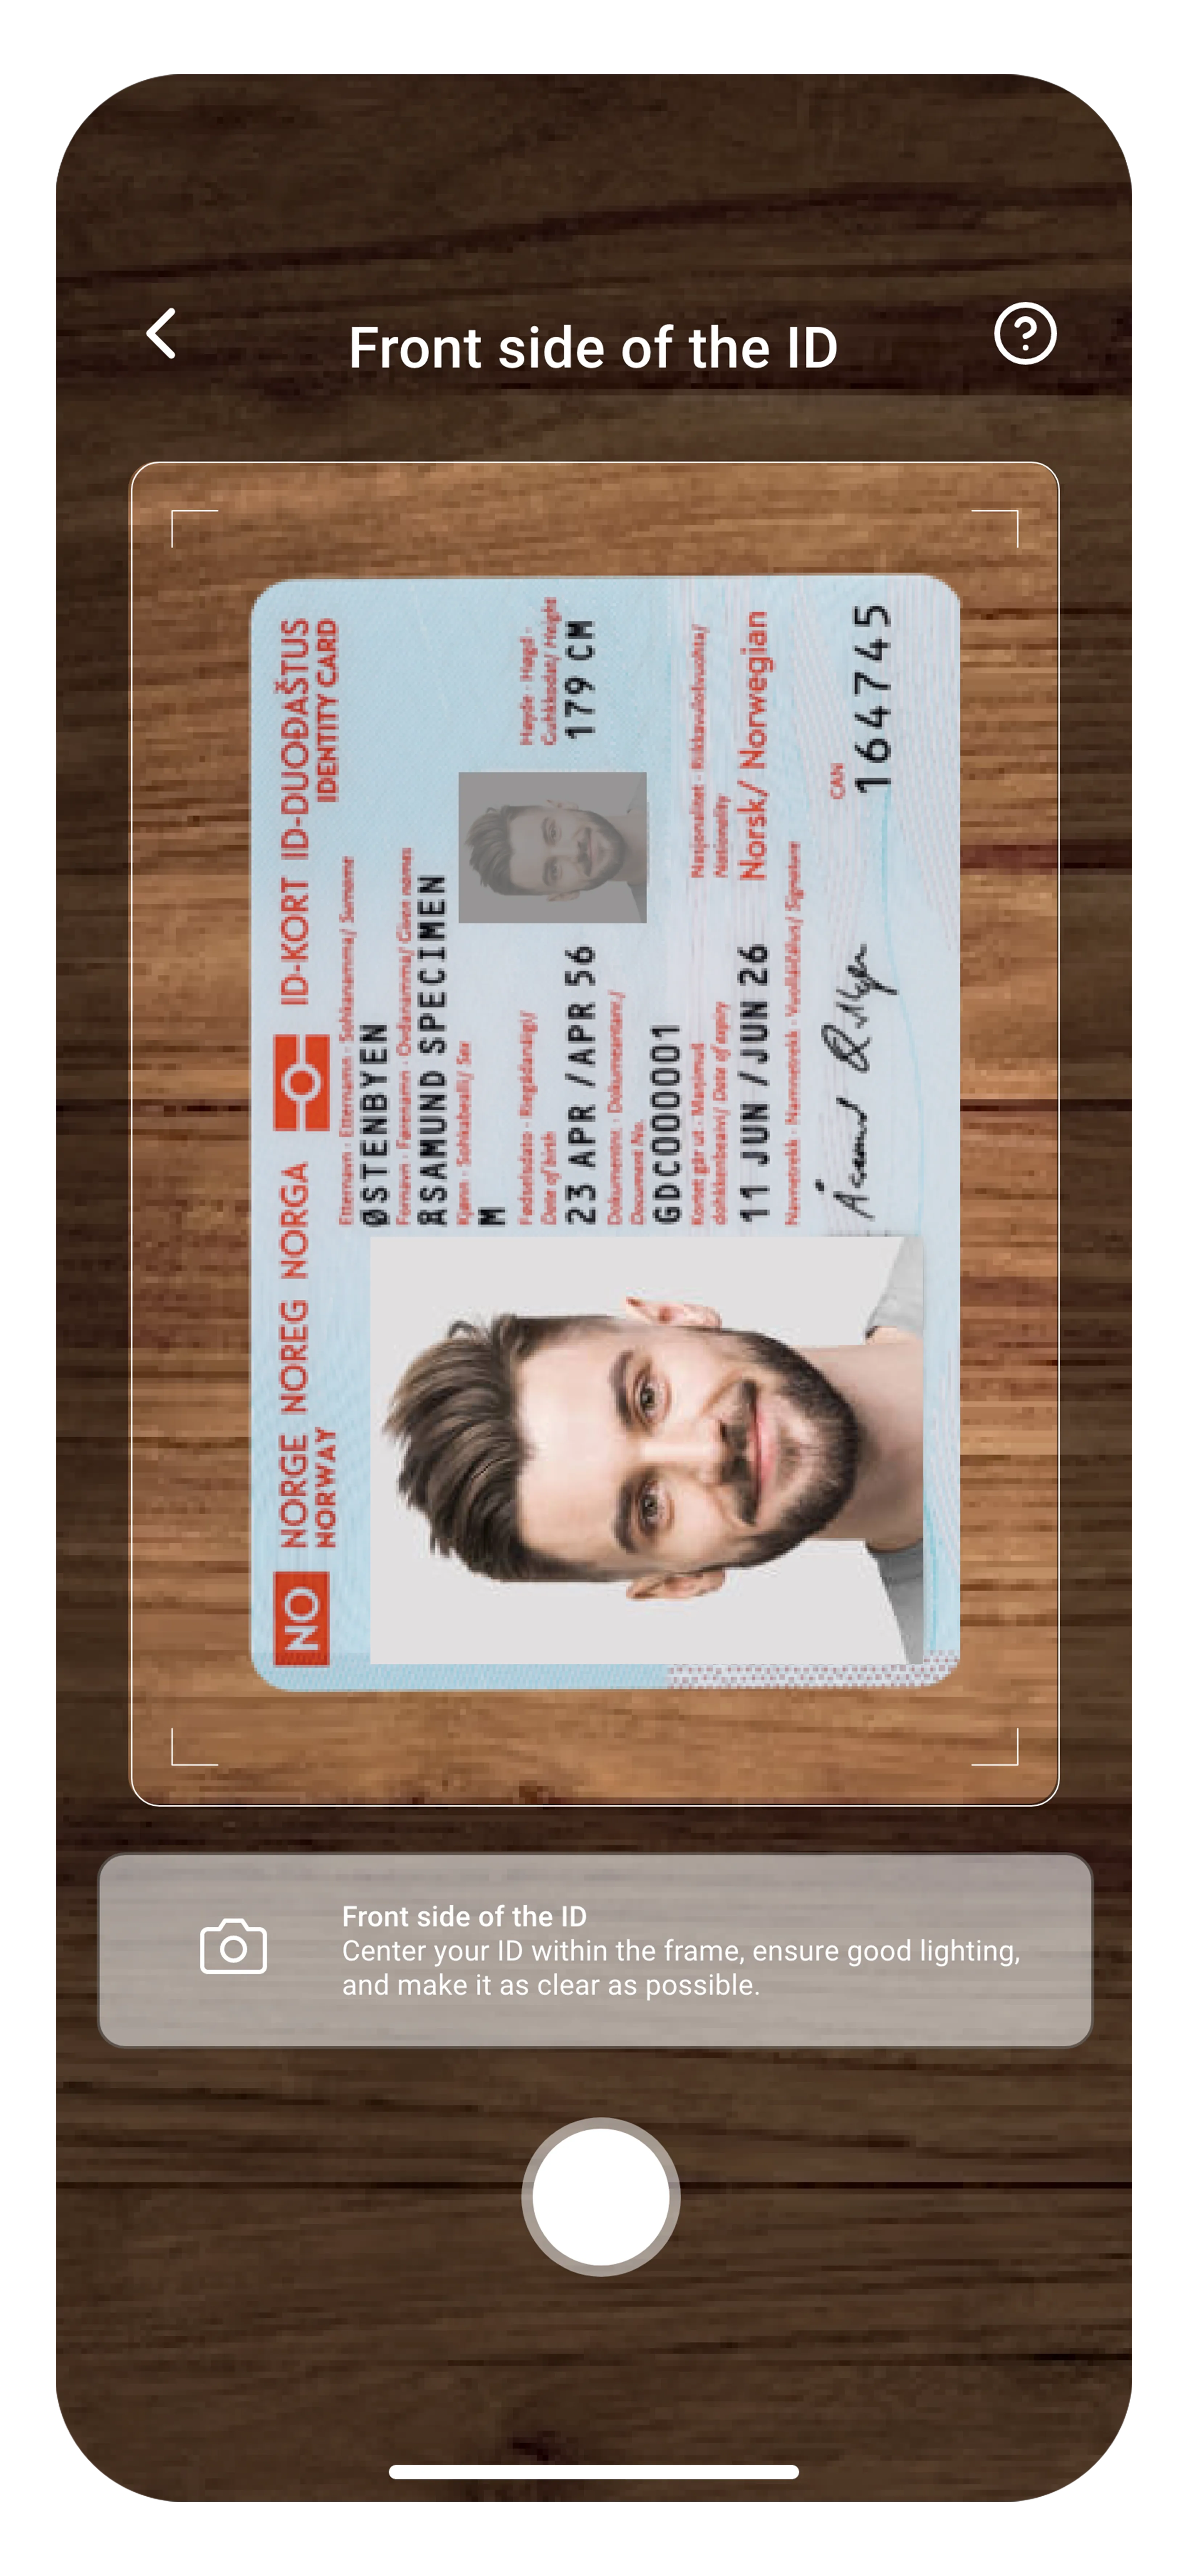
Step 4: Complete Zone-Specific Verification
Depending on which zone(s) you choose, complete the required verification:
Anonymous Zone:
Choose username → Create password → Done
Verified Zone:
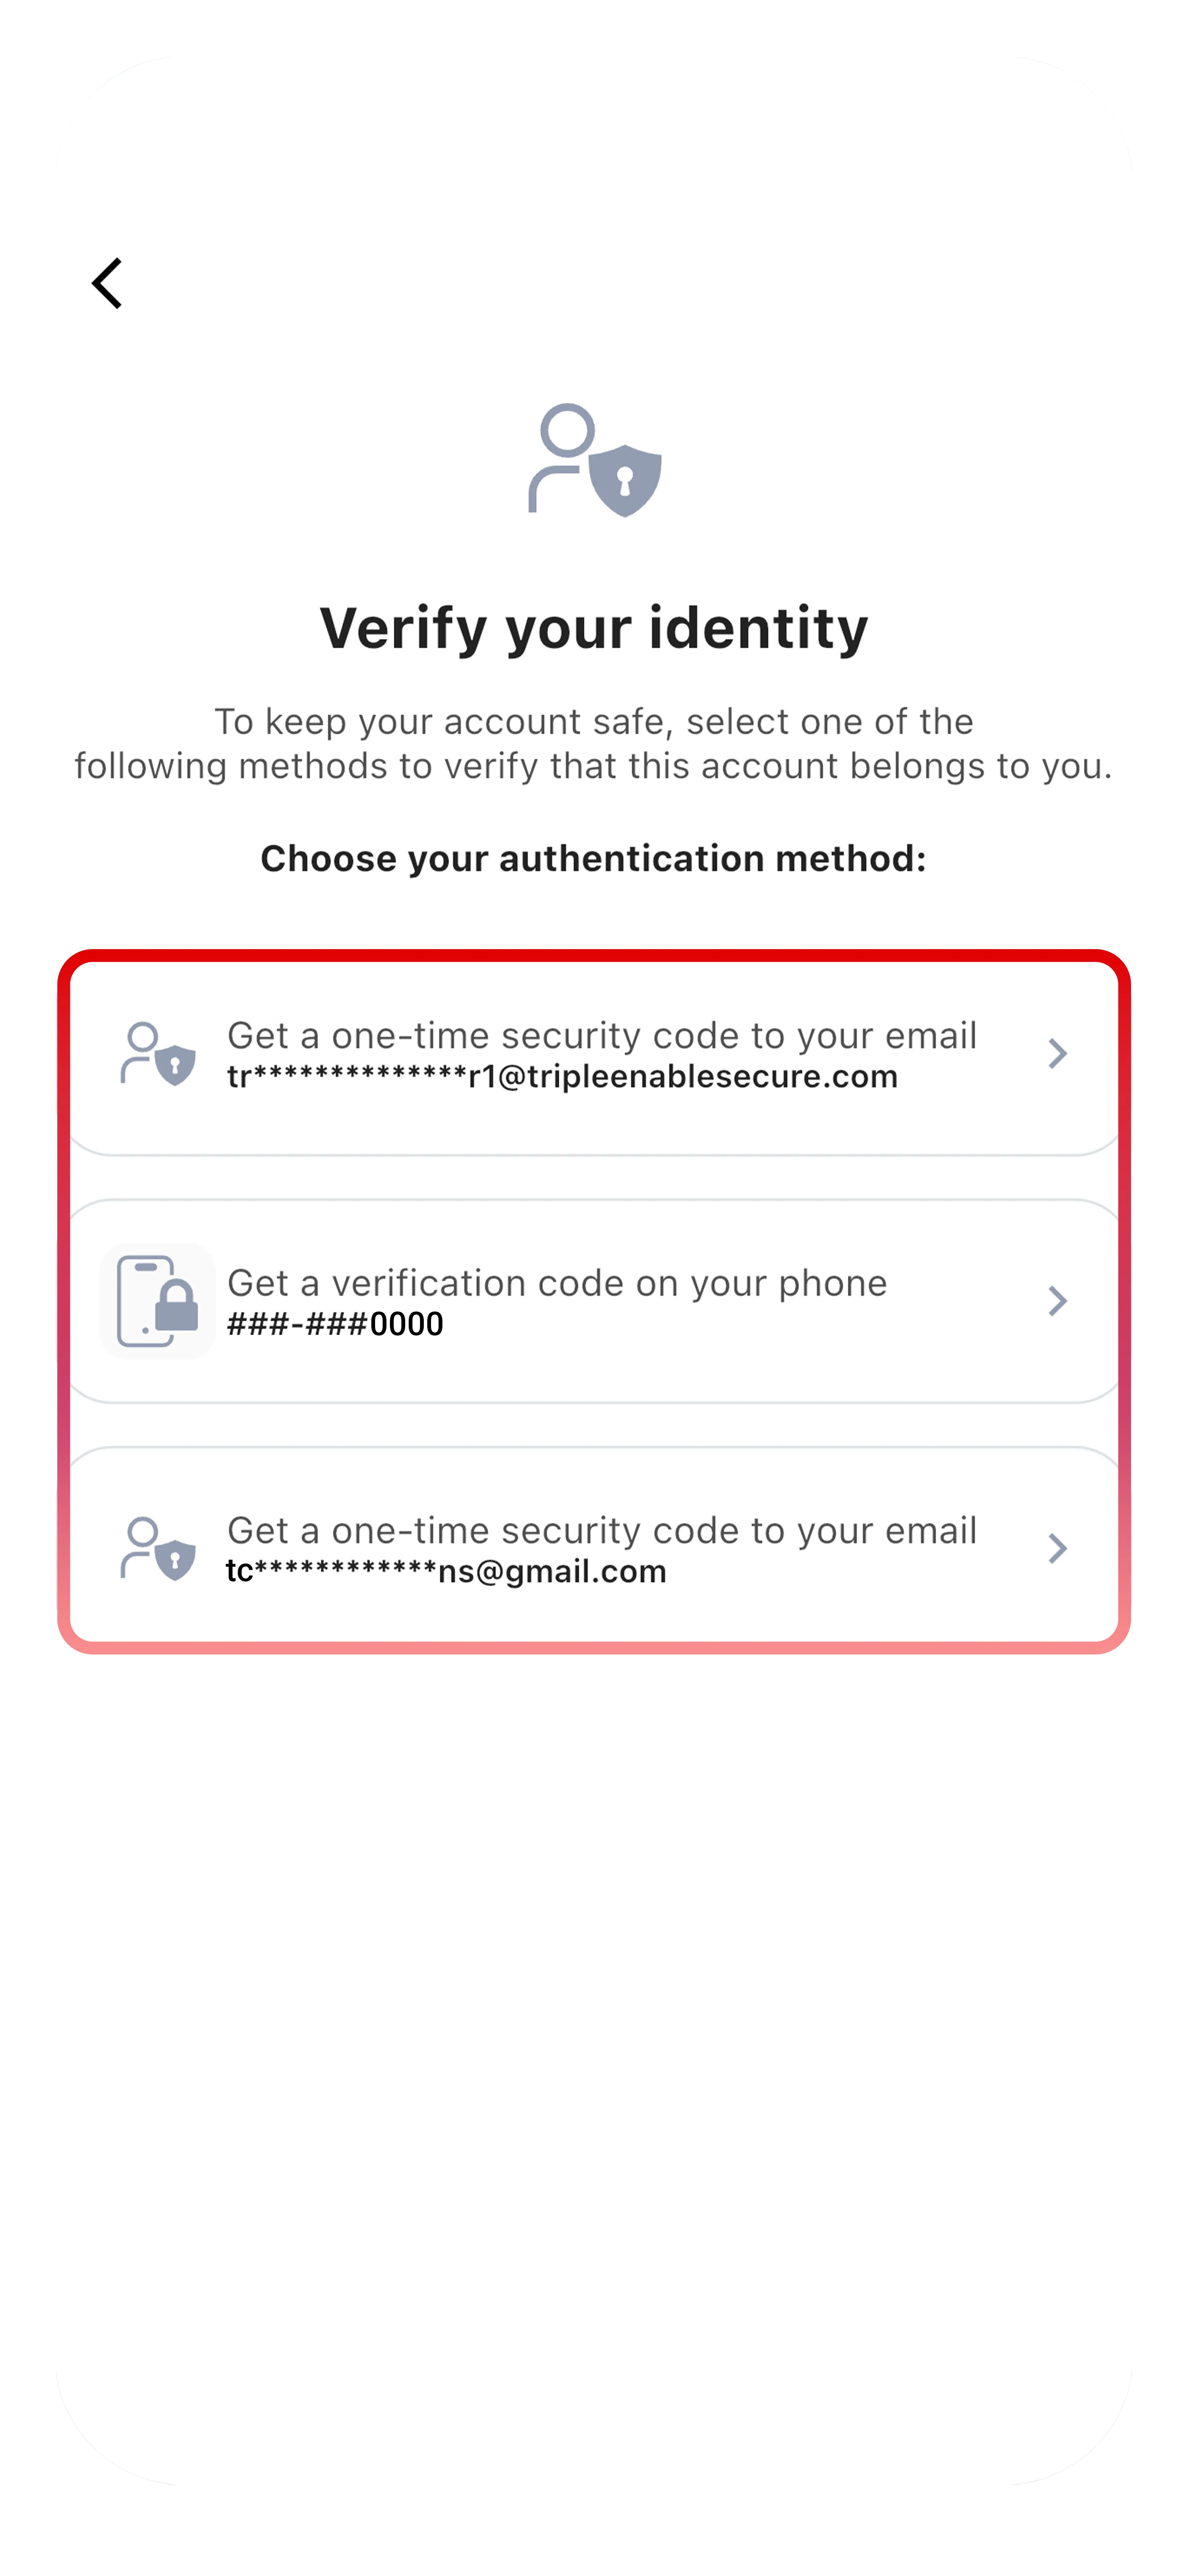
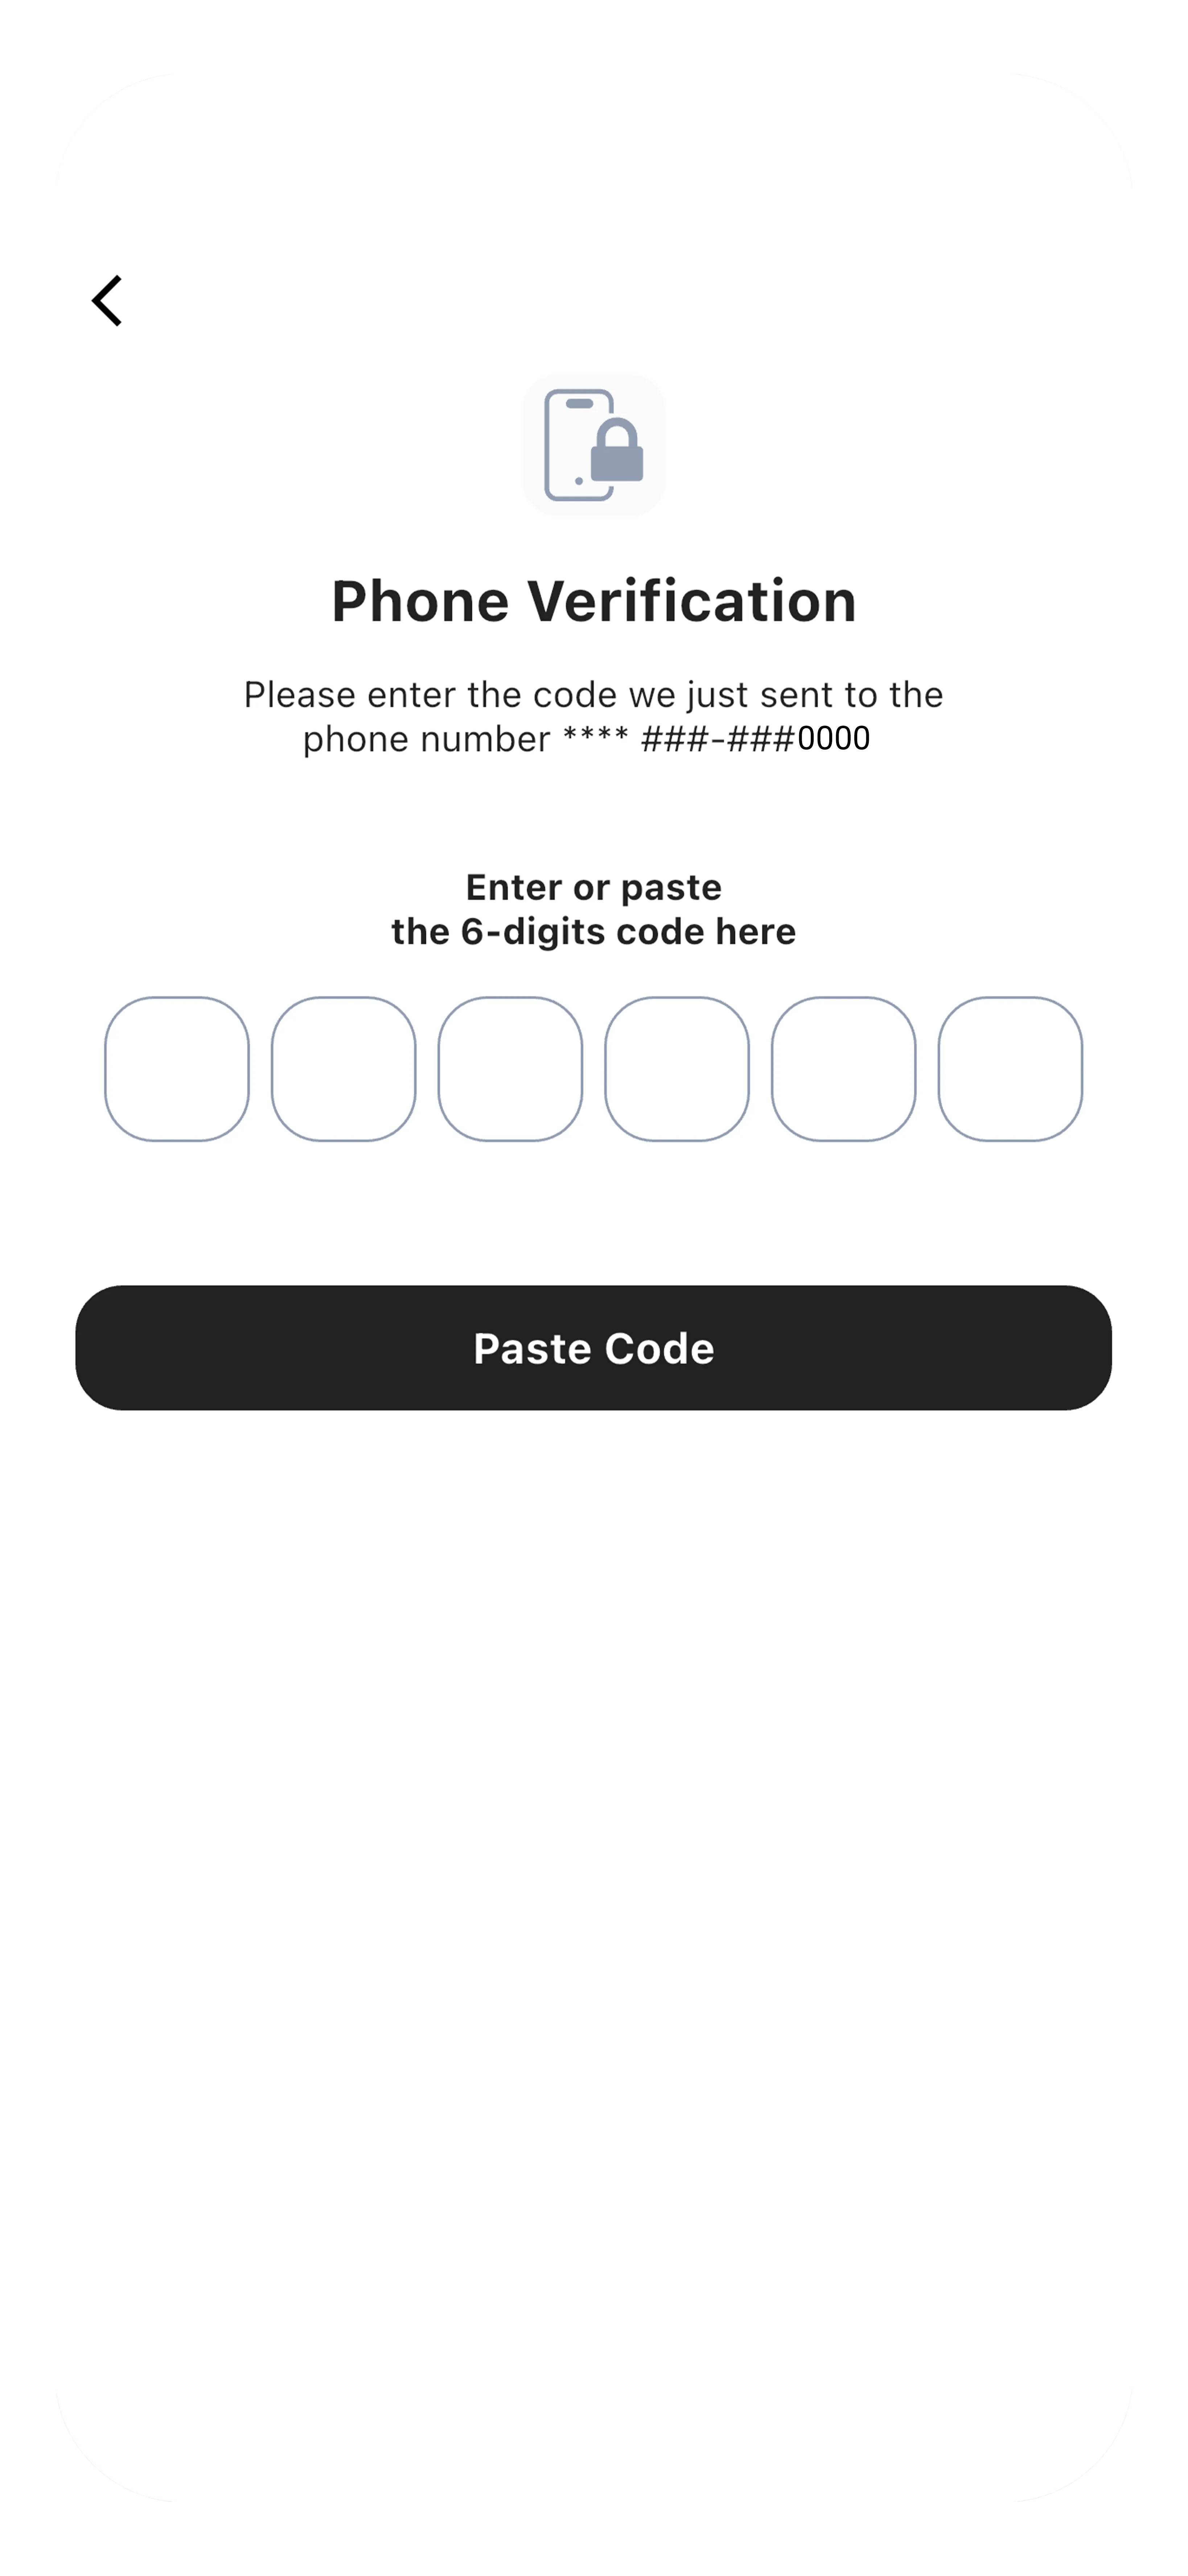
Choose username → Create password → Enter phone or email → Complete 2FA verification → Done
Secure Zone:
Choose username → Create password → Enter phone number → Verify via SMS → Enter email → Verify via email link → Scan the front of your government ID:
Scan the back of your government ID:

Complete the selfie capture:
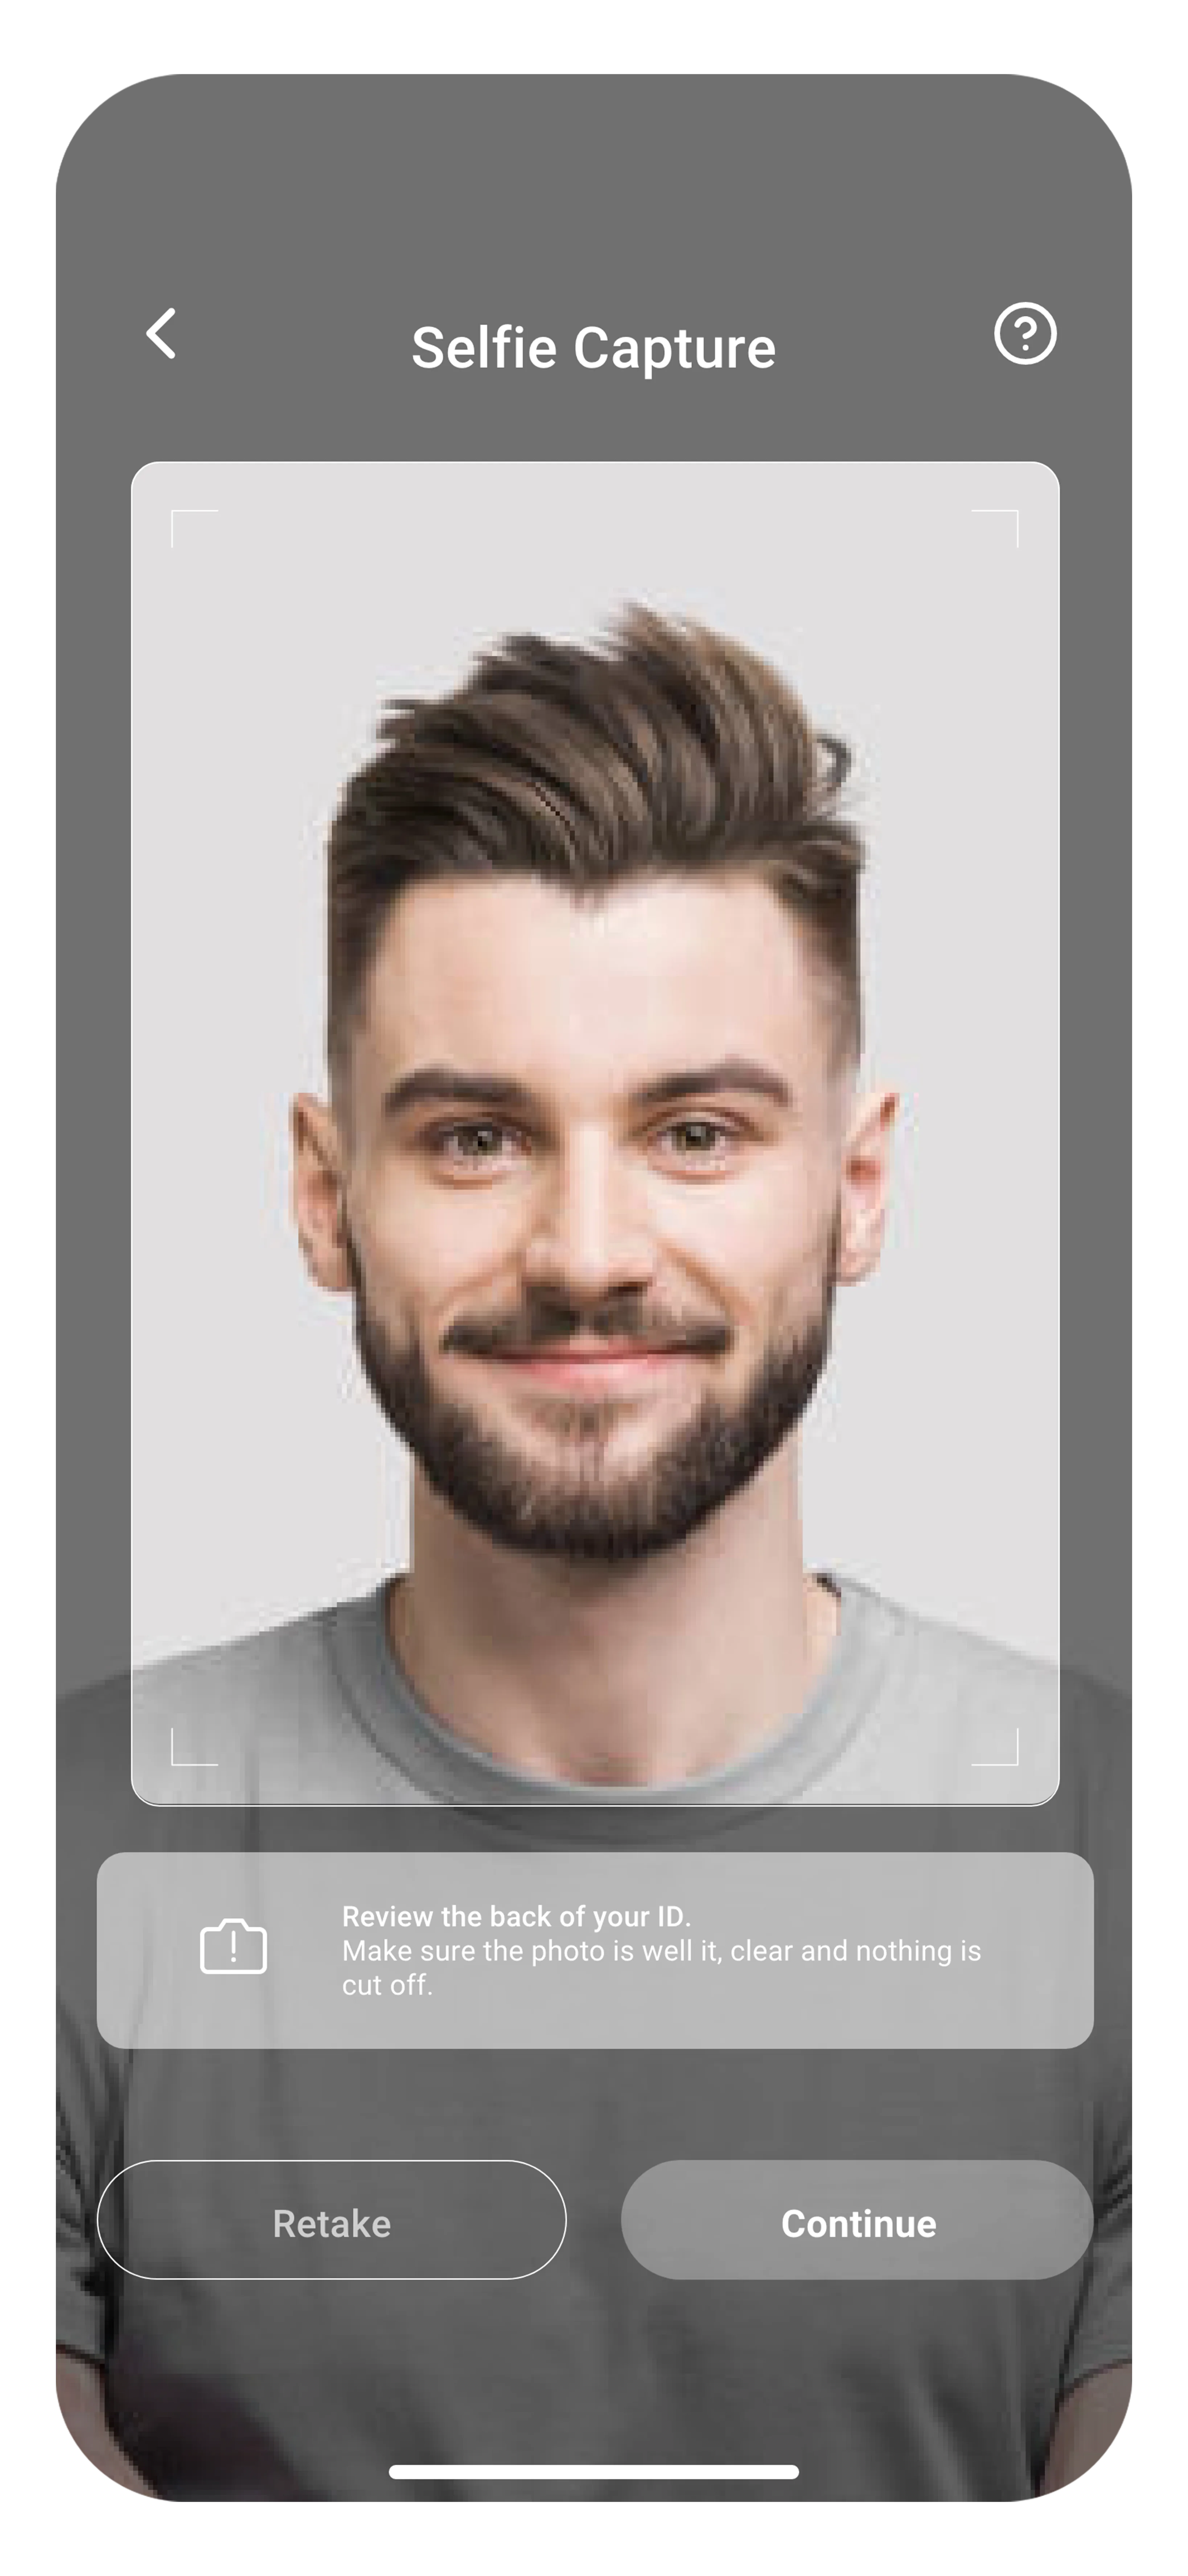
Done!
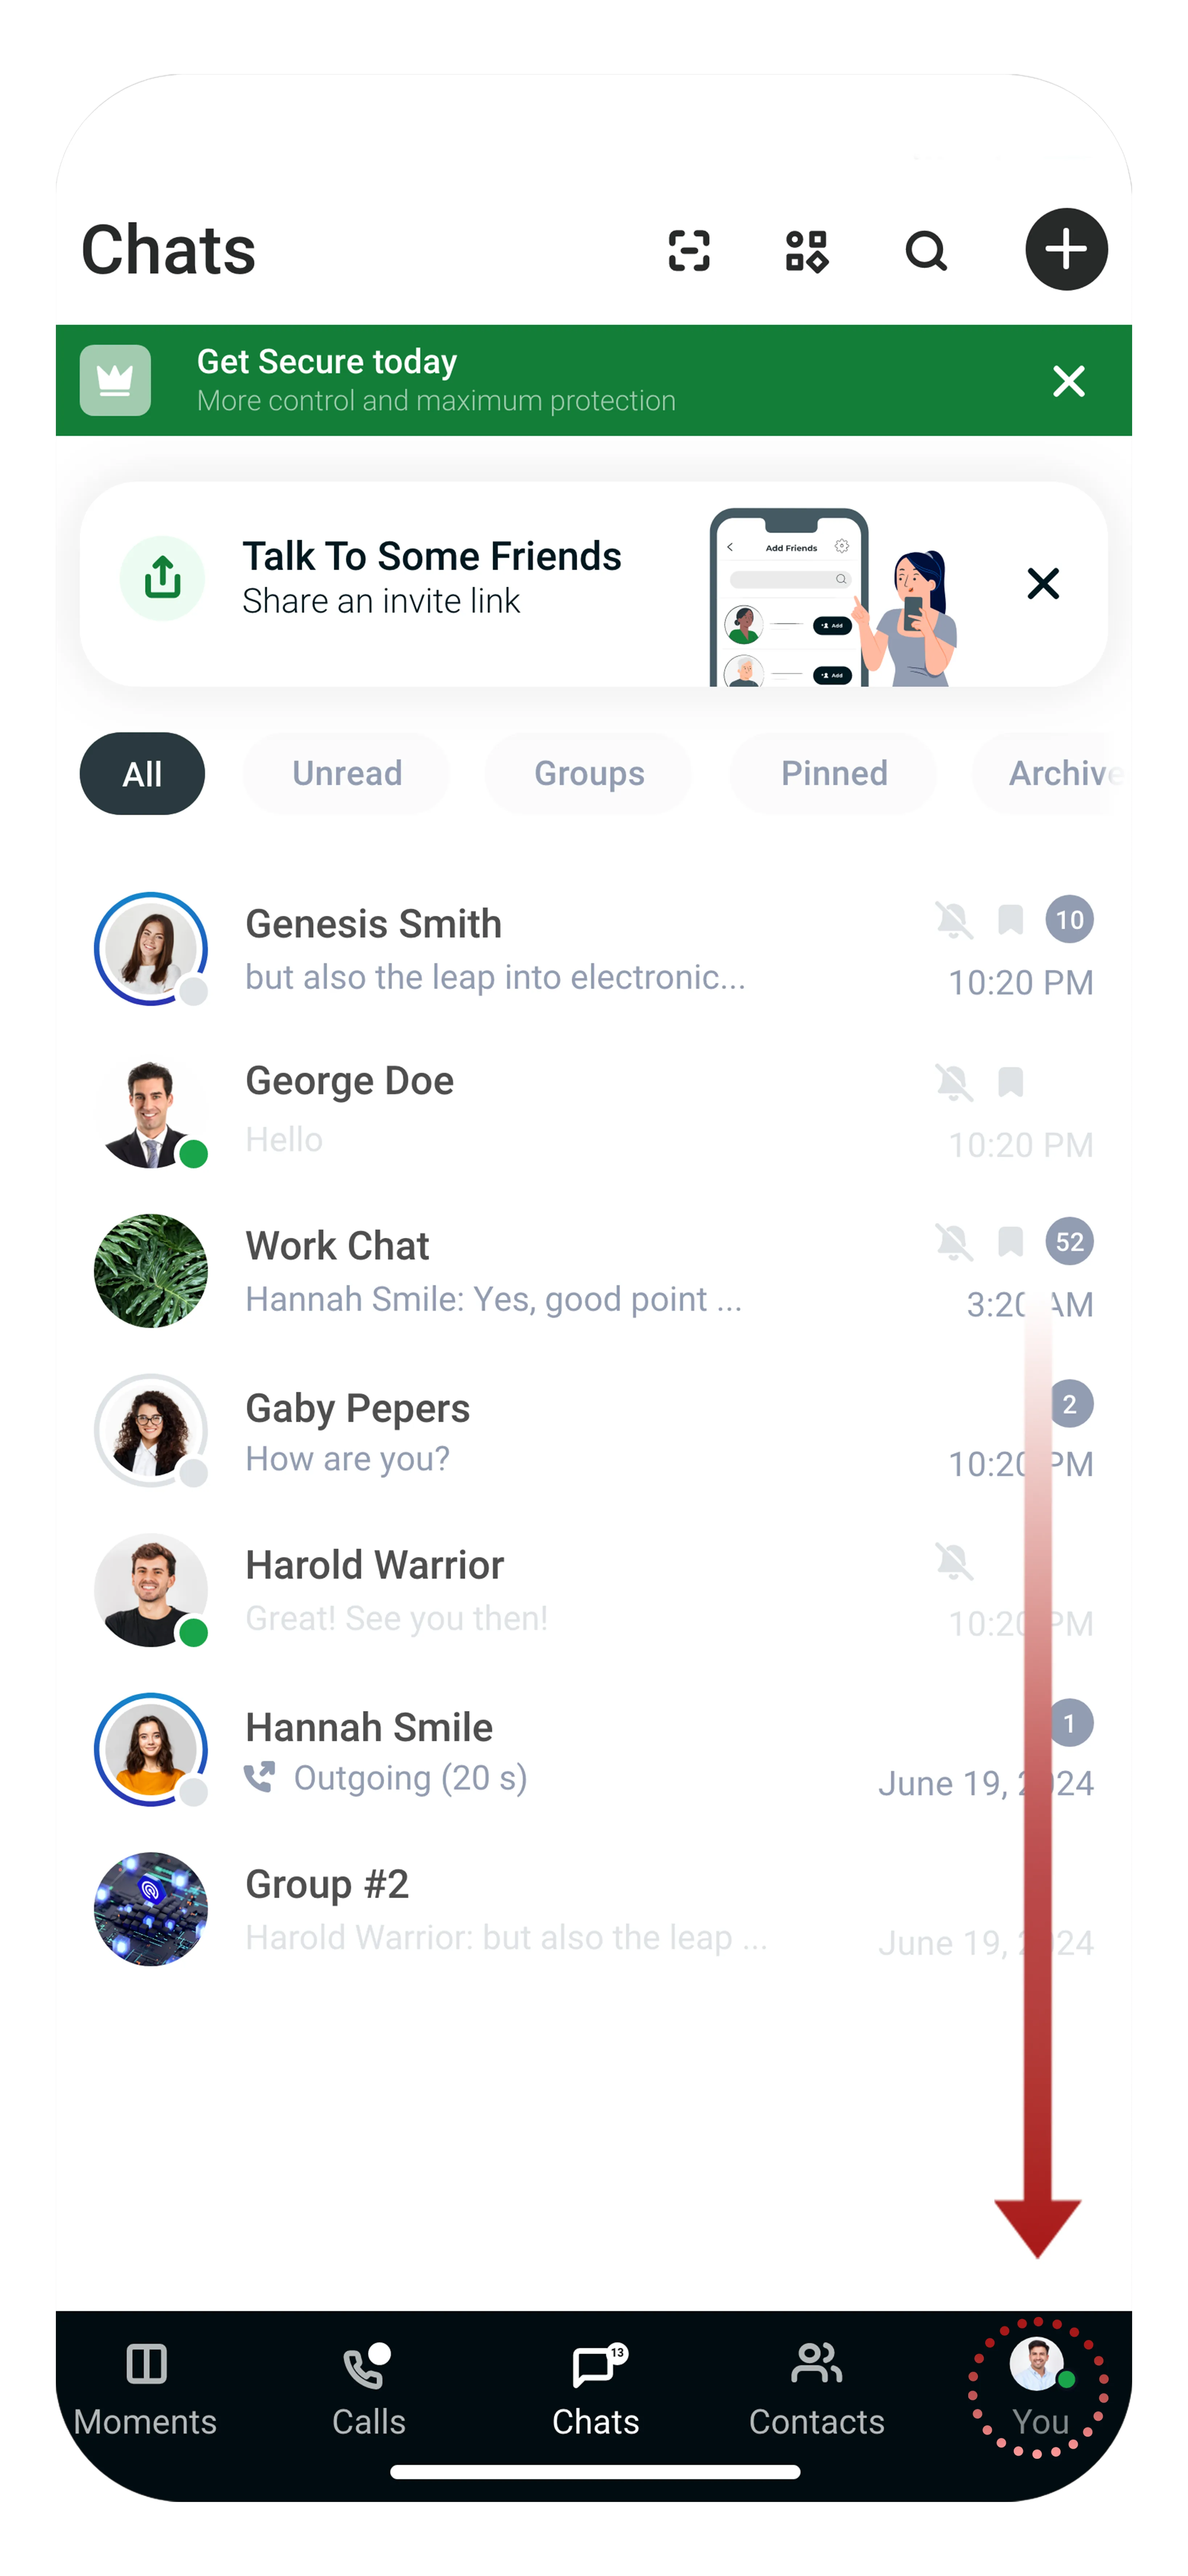
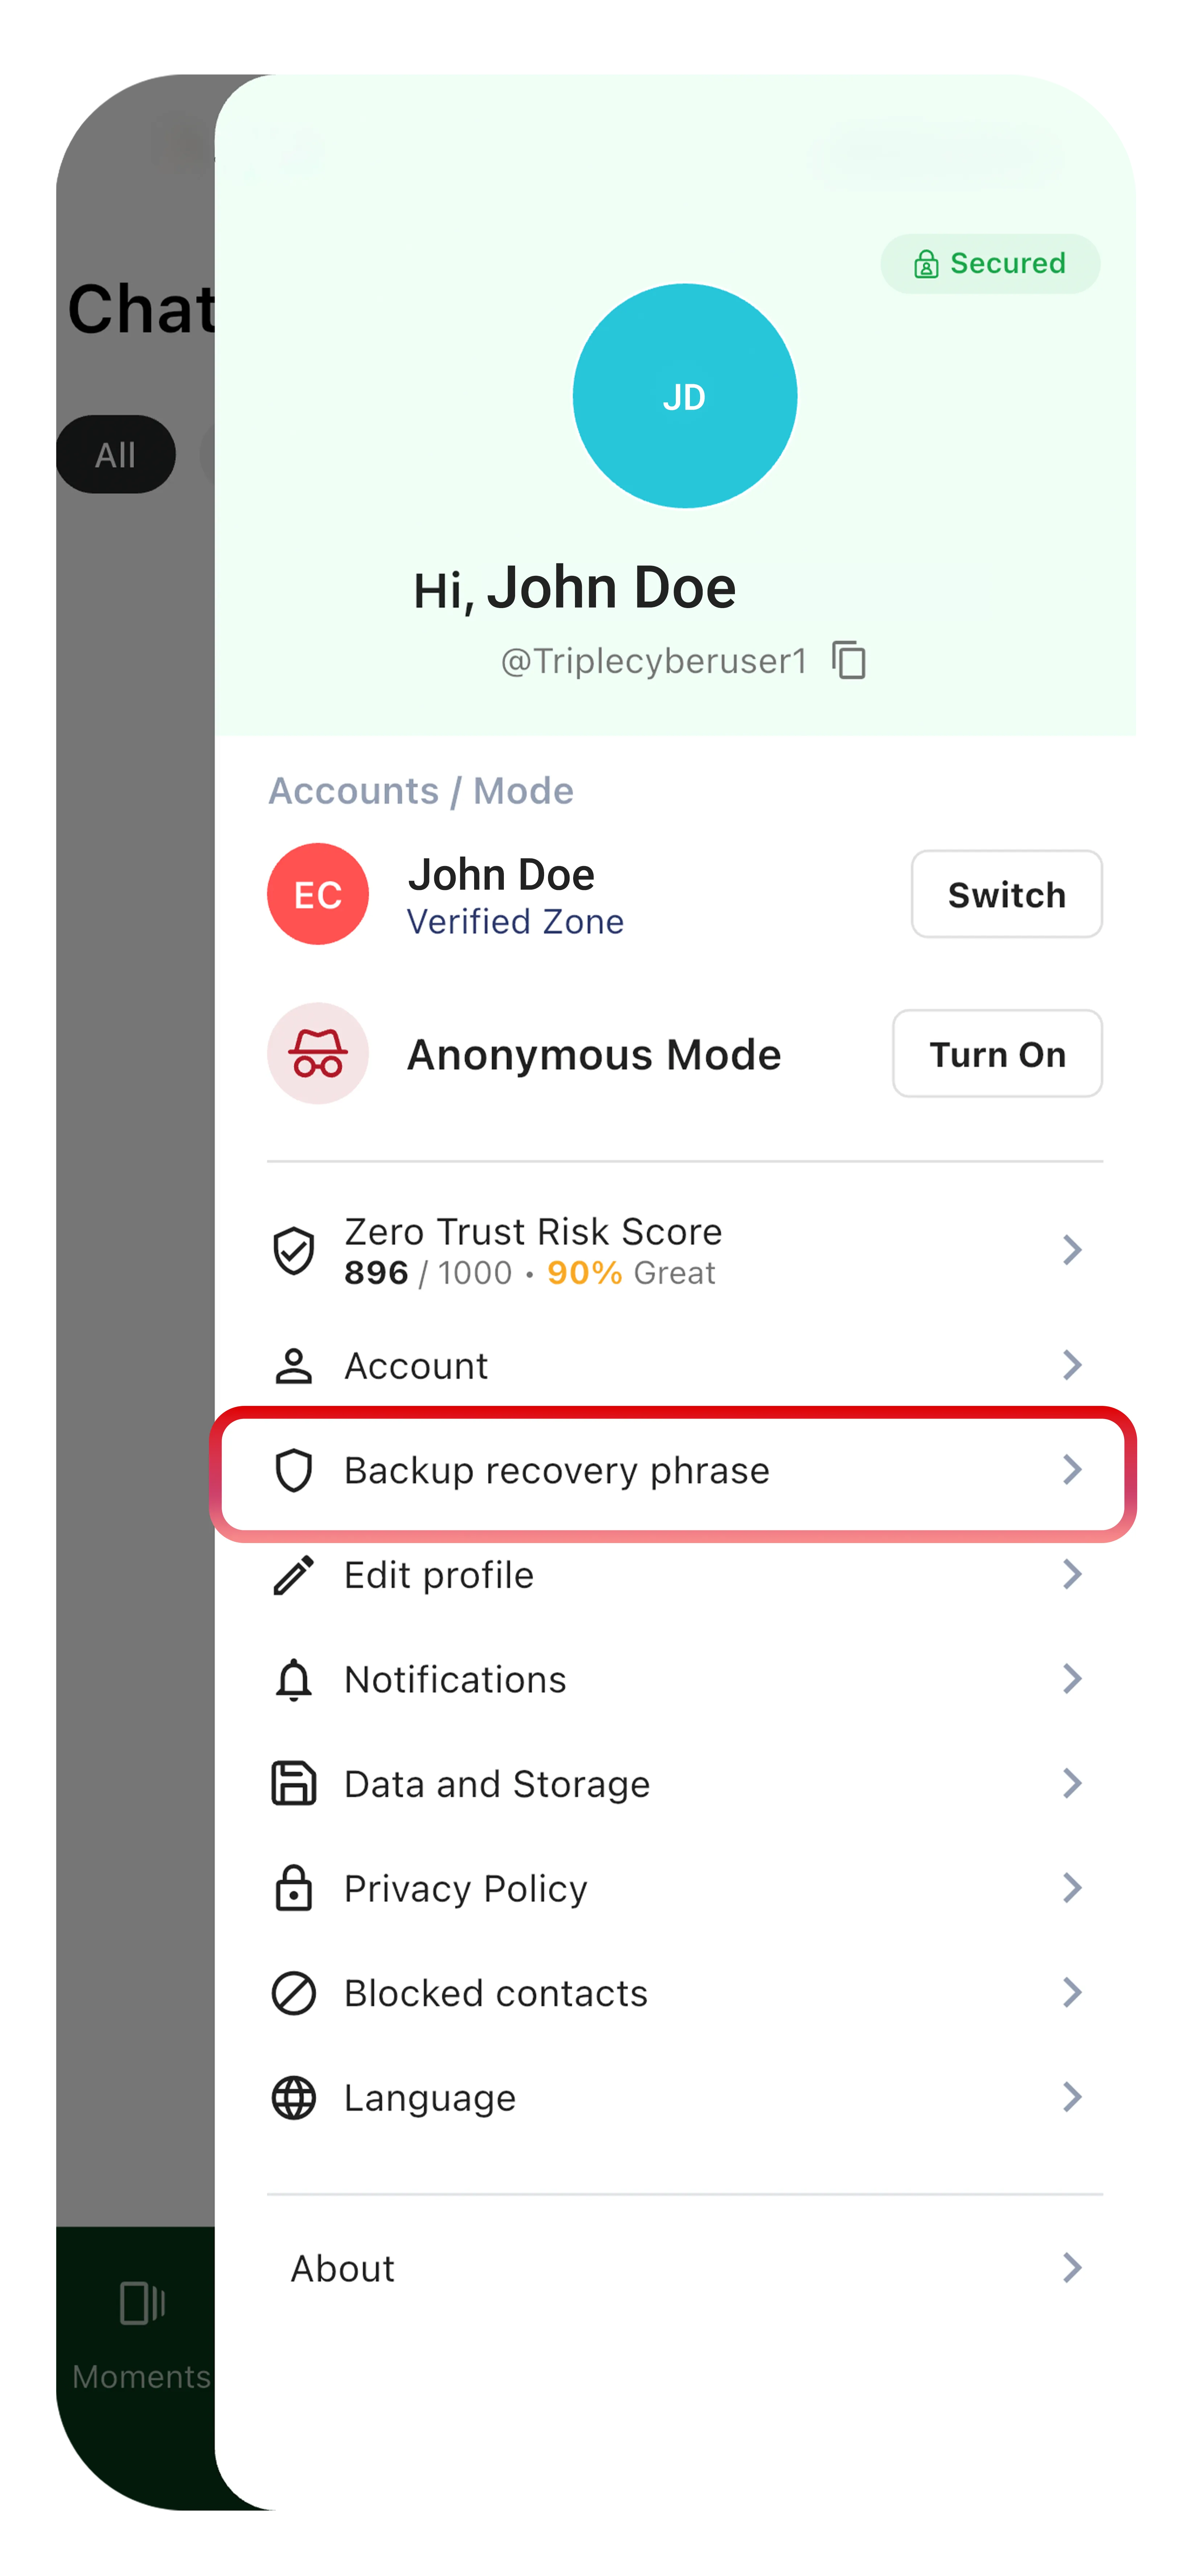
Switching Between Zones
Once you've created accounts in multiple zones, you can run all three simultaneously and switch between them instantly:
- Tap the You tab in the bottom navigation bar
- Tap Switch next to an active zone or Turn On to activate a new zone
- You're now communicating from that zone
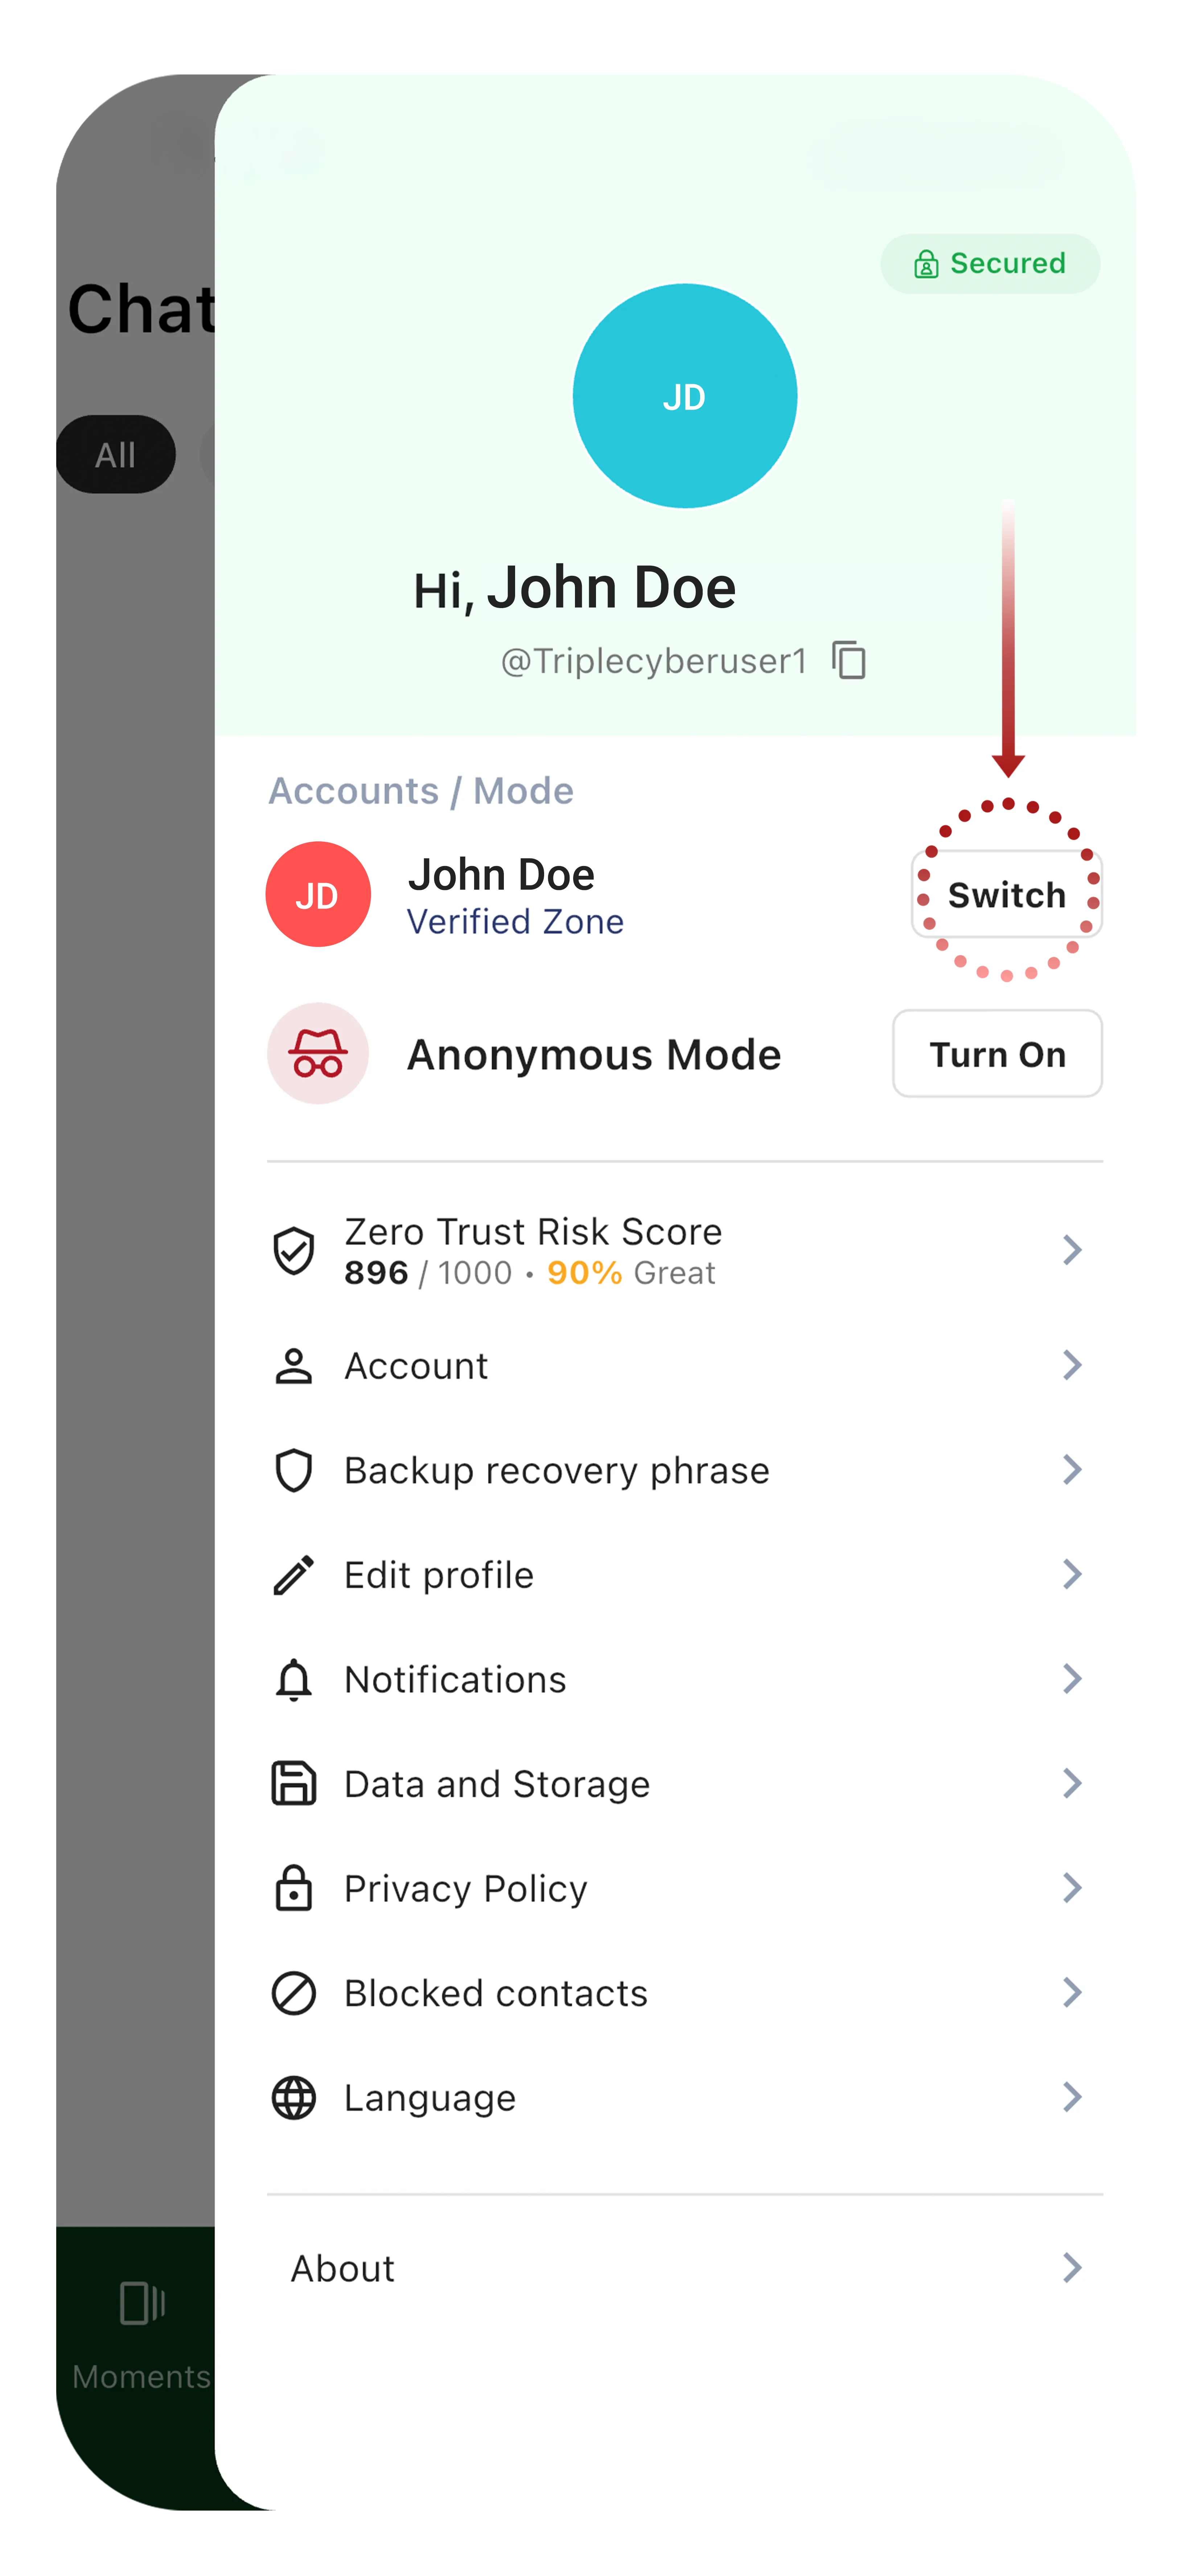
Why switch zones?
- Use Anonymous for casual group chats
- Switch to Verified for professional contacts
- Use Secure for sensitive business discussions
Each zone maintains separate conversations and contacts, giving you complete control over your identity in different contexts.
Logging In
When returning to Tr3sPass, log in based on your zone:
Anonymous Zone: Username + password

Verified Zone: Username + password + 2FA code
Secure Zone: Username + password + 2FA code (additional verification may be required periodically)
Next Steps
Your account is set up and ready to use:
- Finding Contacts - Learn the three ways to add people
- Chat Features - Start messaging with full feature access
- Contact Profiles & ZTRS - Understand how to read trust indicators